My Little Secrets
  • DIY
    • Fashion
    • Home
    • Inspiration
  • Fashion
    • Outfits
    • Guides
  • Lifestyle
    • Beauty
    • Home & Decor
    • Food & Drink
    • Wedding
  • Mom Life
    • Pregnancy
    • Motherhood
  • About
    • Privacy Policy
    • Press and Features
  • DIY
    • Fashion
    • Home
    • Inspiration
  • Fashion
    • Outfits
    • Guides
  • Lifestyle
    • Beauty
    • Home & Decor
    • Food & Drink
    • Wedding
  • Mom Life
    • Pregnancy
    • Motherhood
  • About
    • Privacy Policy
    • Press and Features

My Little Secrets

A DIY and Lifestyle Blog

DIYFashion

DIY :: Jeweled Heels

written by Natalie Ho 2013.02.27

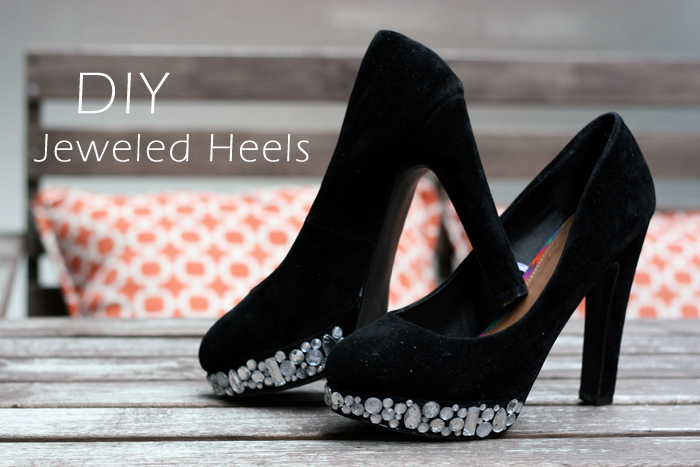
Bedazzling a pair of shoes has always been on my list of DIY projects to accomplish. Michelle, my boyfriend’s sister gave me the perfect opportunity when she handed me a pair of her new heels and said, “here, do something with these!”

I’ve seen several awesome DIY Jeweled Heel projects, my fav is this from HonestlyWTF. However, I was inspired while browsing through Patricia Chang’s Spring/Summer collection (btw I LOVE HER! Robots and bling, why not?!), where one of her models was wearing a pair of heels with the platforms embellished. So here you have it, my version, I hope you like!

Keep reading for step by step easy DIY instructions!


What you will need:
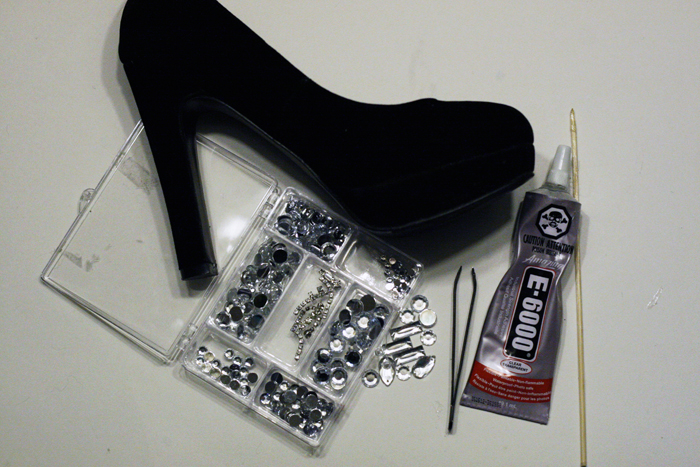
  • A pair of high heels with a platform. The ones I used were suede, great for the glue.
  • E-6000 glue – you can buy here
  • A tooth pick or wooden skewer
  • Assorted flat back jewels, bought my box set from Michael’s.
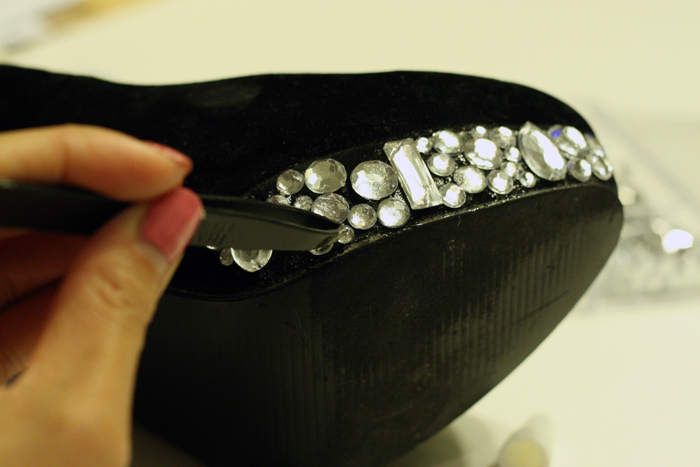
  • Tweezers

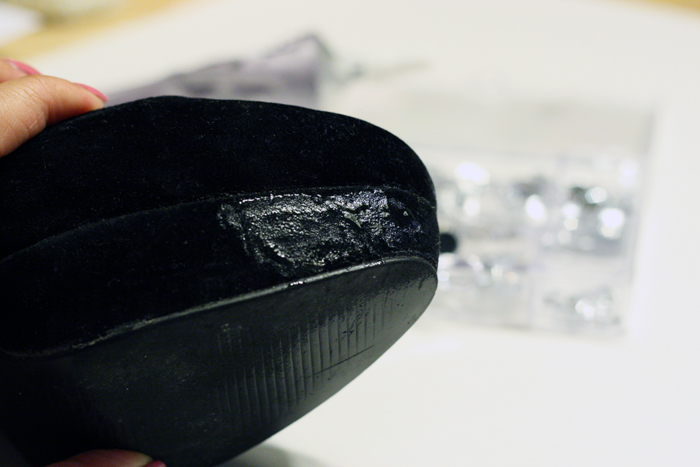
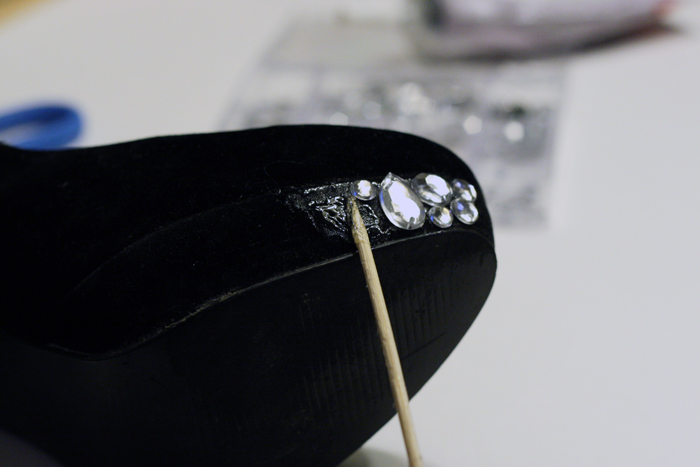
1. Apply a thin layer of glue to the platform of your shoe one section at a time. I worked in about an inch section. I also used my skewer stick to smooth out the glue.

2. Put a few jewels of different sizes. Don’t worry too too much about the order of the, I was very random with mine but did use smaller sized ones to fill in any gaps.


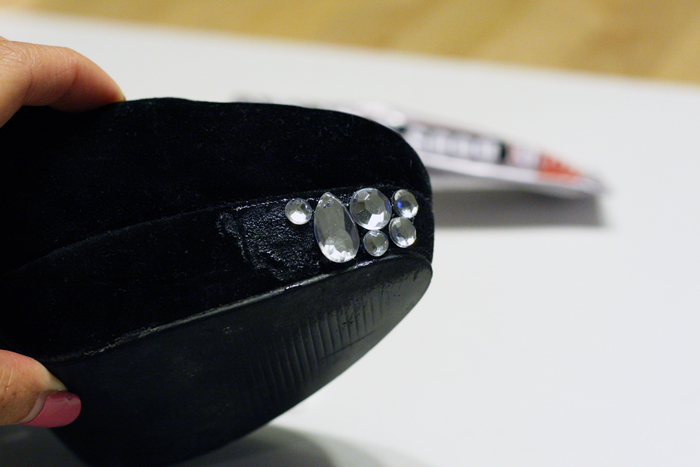
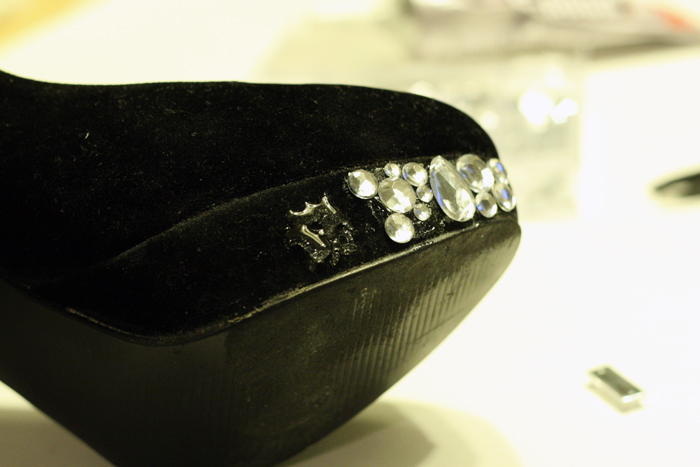
3. Continue working your way down to the end of one side, using your toothpick or skewer to smooth out glue clumps. The glue doesn’t dry right away so no need to move too too quickly.


4. Fill in gaps with the smallest sized jewel possible, so that there too many ‘holes’.

DRYING TIME: When you’re done with one side of one shoe, proceed to the other shoe first before moving to the opposite side of the same shoe, this will prevent the jewels from moving around if you decide to push the edge of the shoe against your working surface. Wait for the one side to dry of both shoes for at least 2 hours, then proceed to the other side of both shoes.

Wait 24 HOURS before putting your sparkly shoes on!

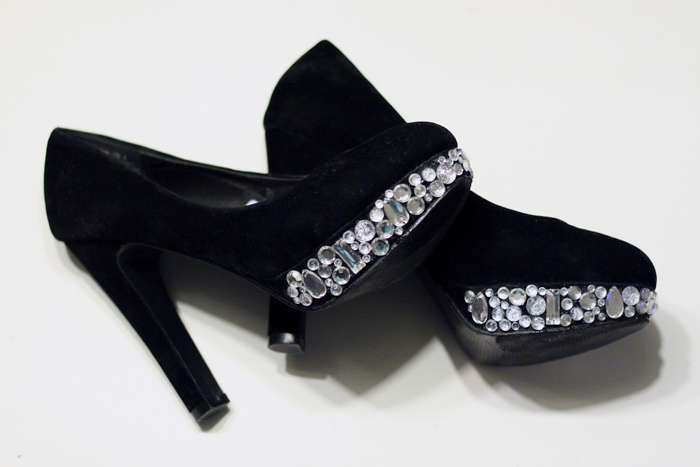
BLING BLING! Close up shot!

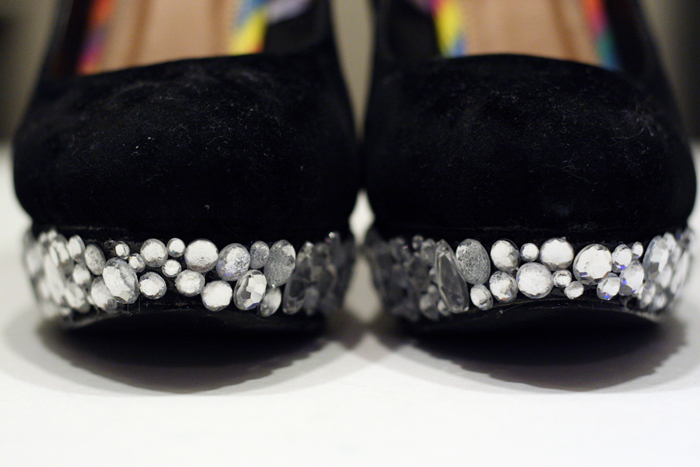
Super cute and super wearable!

What do you think?! I hope you liked this week’s DIY Project.

As always please share your version and comments below or on my Facebook page! If you love this project, remember to RE-PIN it from my Pinterest page!

Hope you’re having a splendid hump day! 🙂

Connect with Me!
Facebook   Twitter   Pinterest   Instagram   Bloglovin’
1 comment
0
Facebook Twitter Google + Pinterest
Natalie Ho

Hi, I'm Natalie! Thanks for stopping by my DIY and Lifestyle blog. I hope you find many inspirations and ideas to elevate your daily life!

previous post
Men’s Style :: Frank & Oak
next post
Outfit :: Military Florals and My Bernelle’s

You may also like

DIY :: Rope Crystal Earrings

2012.11.12

DIY :: Rope Knot Headband

2013.04.08

DIY :: Attend our Workshops at Yorkdale Mall...

2015.11.05

DIY Inspiration :: Sweatshirts

2013.09.25

DIY :: Mini Succulent Planters

2016.03.23

DIY :: Spring Felt Flowers

2016.04.12

DIY :: {Gucci Inspired} Embroidered Denim

2016.11.23

DIY Outfit :: Patchwork Denim Jacket

2017.05.29

DIY :: Heart Shape Elbow Sweater

2012.10.14

DIY :: The Perfect Cut-Off Denim Shorts

2013.06.17

DIY :: Wired Word Art Jewelry

2014.09.03

DIY {Holiday Gift Guide} :: Statement Necklace

2012.11.20

1 comment

http://www.sparkly-shoes.com/ 2014.07.13 - 11:06 pm

What’s up, just wanted to tell you, I loved this article.
It was practical. Keep on posting!

Reply

Leave a Comment Cancel Reply

This site uses Akismet to reduce spam. Learn how your comment data is processed.

Search

Connect

Facebook Twitter Instagram Pinterest Email

About Me

About Me

Hi, I'm Natalie!

Thanks for stopping by my DIY and Lifestyle blog. I hope you find many inspirations and ideas to elevate your daily life!

Subscribe

On Pinterest

@mlsecrets

Recent Posts

  • Motherhood: Easy and Educational Toddler Meal in Minutes with Chef Boyardee ABC 123

    2021.12.30
  • Home & Decor :: 4 Easy Halloween Home Decorations with your Cricut

    2021.10.28
  • Motherhood: Best Toddler Books Under $20

    2021.04.16
  • Home & Decor :: Before & After – A Living Room Transformation with Urban Barn

    2021.04.01
  • Motherhood: Must-Haves to Combat Toddler Cold and Flu Season

    2021.01.28
Close

PSST, Hey There!

Subscribe and receive all of my little secrets in your inbox.

Latest posts on Instagram

No images found!
Try some other hashtag or username
  • Facebook
  • Twitter
  • Instagram
  • Pinterest
  • Email
Footer Logo

Copyright © my little secrets


Back To Top