Drum roll… I’m unveiling our newly renovated master bathroom!
If you’ve been following along on Instagram, you would know that I’ve partnered with The Home Depot Canada and Delta Faucet on this renovation for quite some time now. I finally managed to pick up a few last minute accessories and voila, it’s complete! A few weeks ago, I shared a full post about the inspiration behind this room, and I’m pleased to share the final design and the inspiration that came to life!
Keep reading to see the before and after photos!
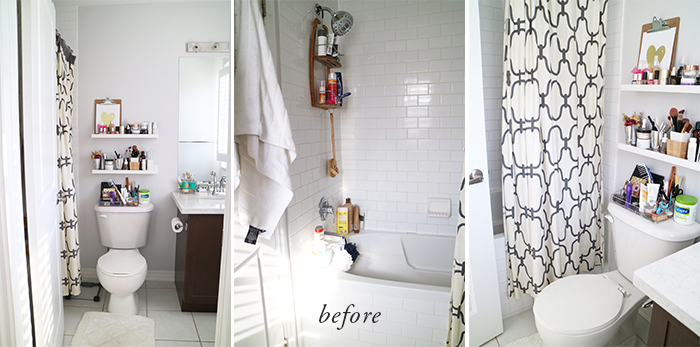
Before
Our bathroom before renovations was basic and dated. All the finishing and trimming were likely the standard options that came along with the builder from nearly a decade ago when this townhouse was first released. As you can see from the photos, there really wasn’t too much space we could play with. So for the most part, we kept the placement of the vanity and toilet in the same location (this also saved a few extra bucks without having to do any plumbing work). Instead, the focus was to open up the shower area by removing the tub and putting in an enclosed glass double shower – and oh my, was that the best decision!

After
We began the renovation work in mid-June and hired a small team of contractors to help us with the work rather than tackling the job on our own. I can’t stress the importance of hiring contractors that are trusted, reliable and preferably referred by family and friends. Being able to see the work they’ve done before, really helps!
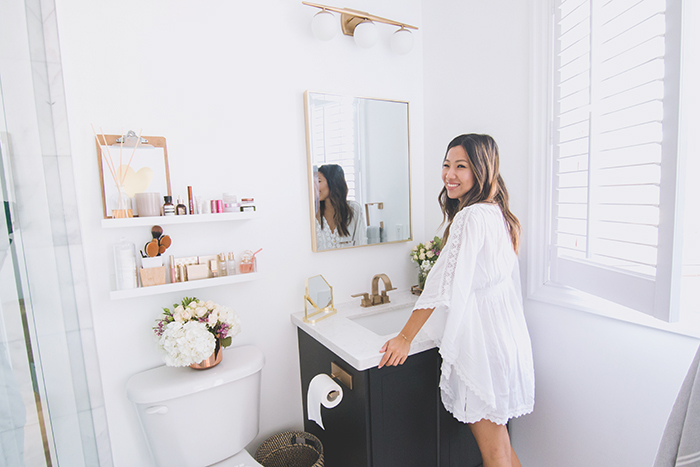
And after 10 short working days, these guys were able to bring my vision to life – I’d like to finally introduce you to our new Master Bathroom!
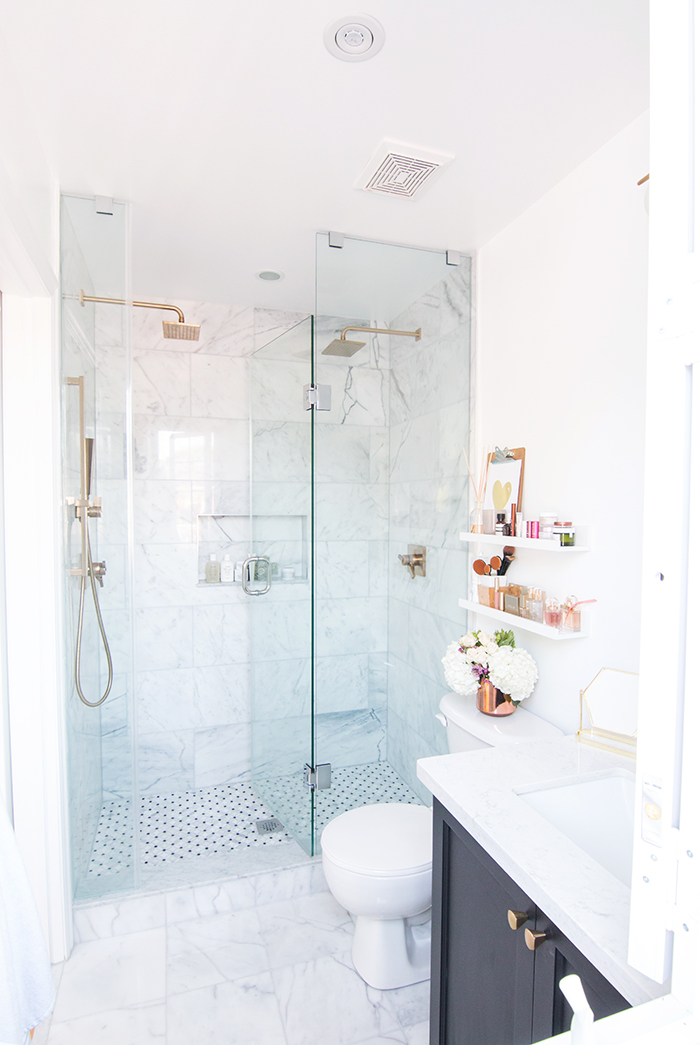
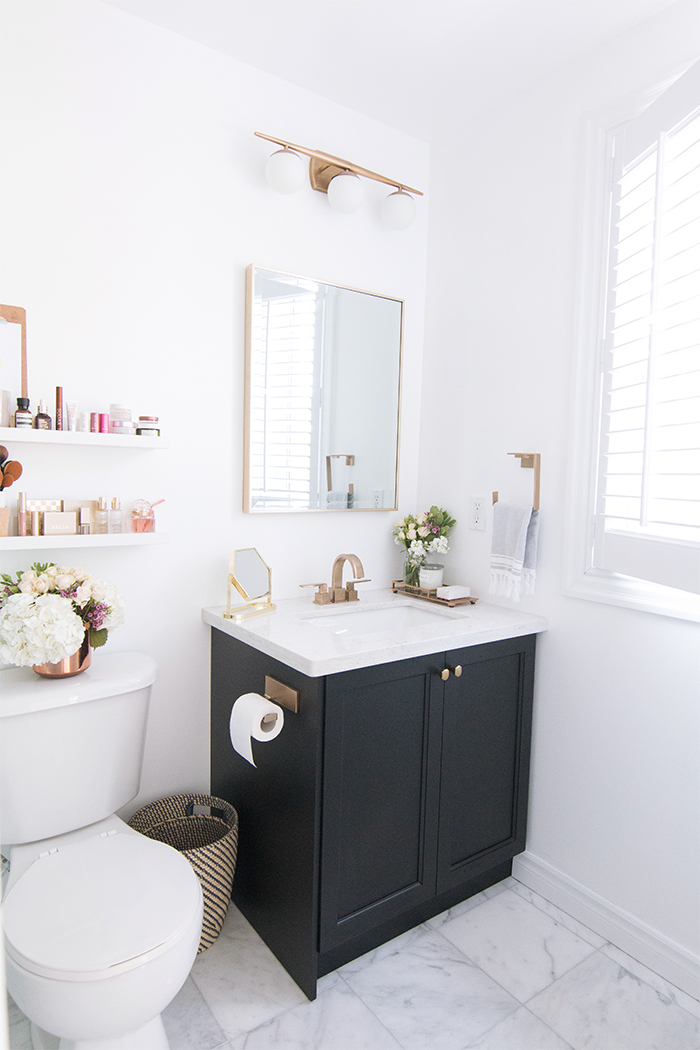
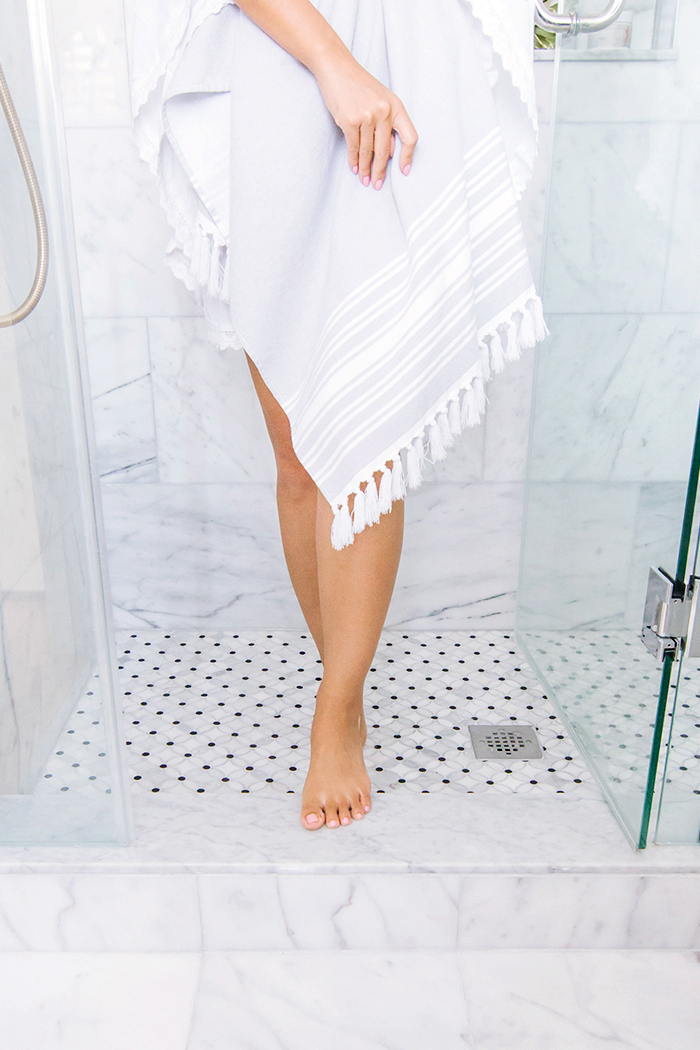
Sophisticated, crisp, and bright are the words I’d use to describe this little sanctuary of ours. Since our bathroom is relatively small, draping the entire space with marble tiles was possible and well worth it! We chose a 12×12 square marble tile for the exterior flooring and the exact same tile (installed horizontally) but in 12×24 rectangular for interior shower walls. For an extra wow factor, we selected a patterned mosaic for the shower floors. The tiny specs of black go so well with the custom black vanity unit.
I love that each piece has its own pattern but I highly recommend prior to installing to check each tile as some may have much darker veins in which you’ll want to have these strategically placed. We actually didn’t check at first, and ended up having to break one piece apart after installation because it was so discoloured.
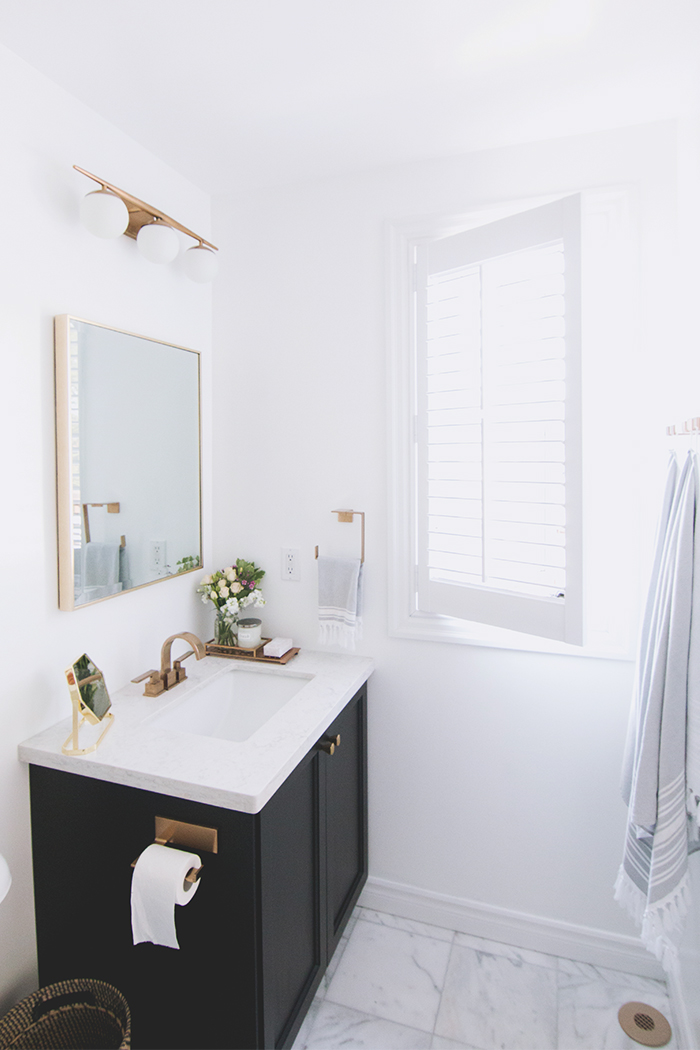
It took me longer than expected to share this reveal because I was having such a hard time finding a vanity mirror at a reasonable price! I wanted to find a mirror that was relatively large, simple in shape, but had the same (or at least similar) brush champagne bronze finishing as the rest of the hardware. I searched everywhere online and in stores and I was disappointed to find out that many of the mirrors that fit my criteria were so expensive! After visiting Home Sense for about the eighth time, I was ecstatic to bring this $29.99 mirror home!! Though, the length of it is not as long as I had hoped for, but I think it worked out quite well!
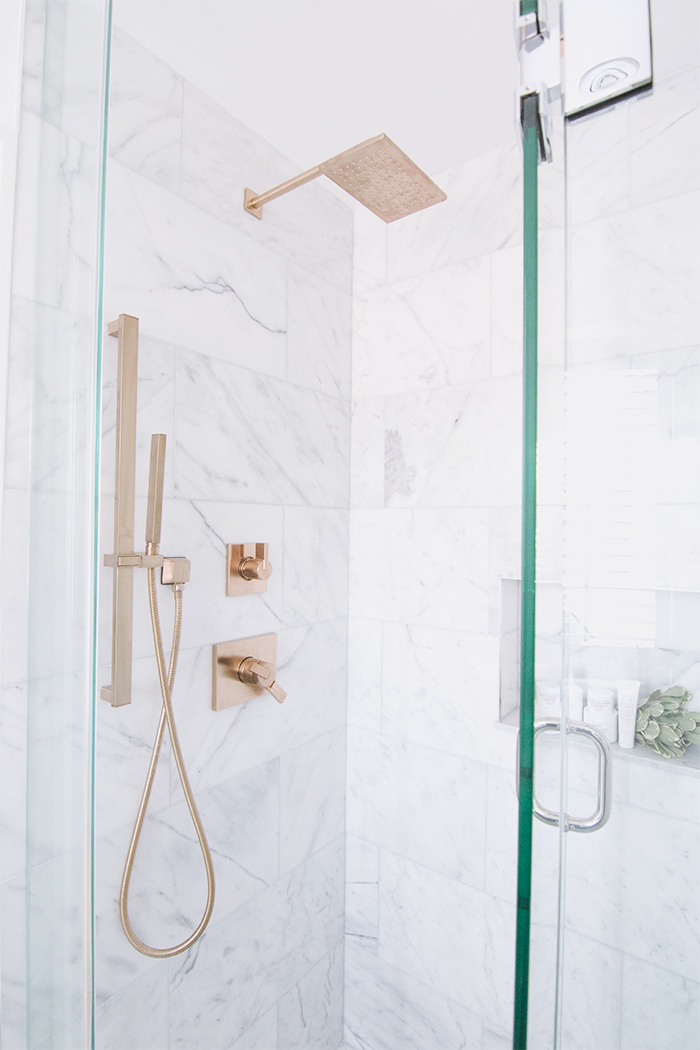
Now, let’s spend a minute and talk about the shower! Kyle and I are so obsessed! We were a little worried about the feasibility of installing two rain shower heads plus an additional stand alone hand shower for a total of three. We were advised prior to the plumbing work and installation that the water pressure might be compromised or that we may not be able to operate all three units at the same time. But the good news is, we ARE indeed able to operate all three simultaneously and to be honest, the water pressure is just perfect!!
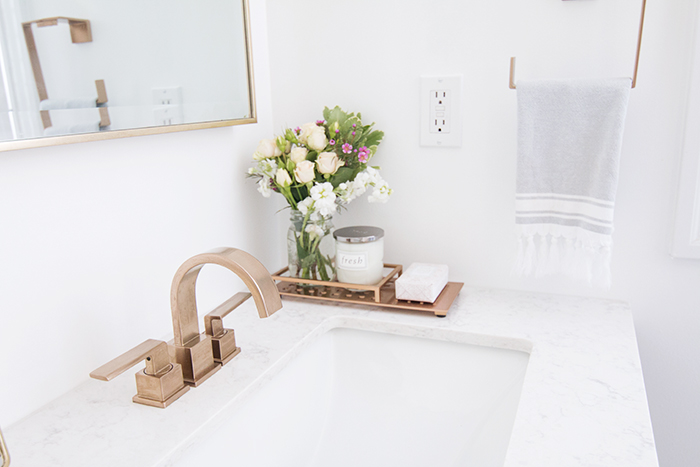
I am so happy that I selected the Delta Faucets VERO collection in Champagne Bronze. I love the contemporary style paired with the brushed gold finish. It truly elevates the entire bathroom. When deciding on your shower and lavatory hardware, be sure to do adequate research so that you have a full understanding off all the items you need, i.e. valve rough, diverter rough. I actually made the mistake of ordering the wrong lavatory faucet but thankfully our contractors were able to make it work by installing the two handles a little bit closer than recommended.
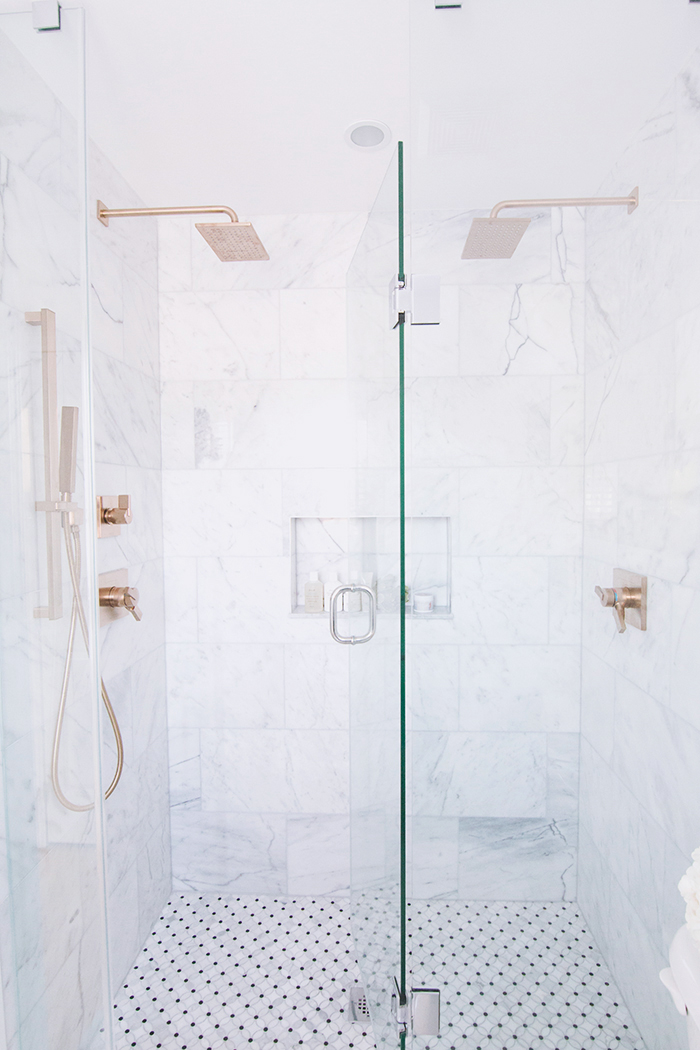
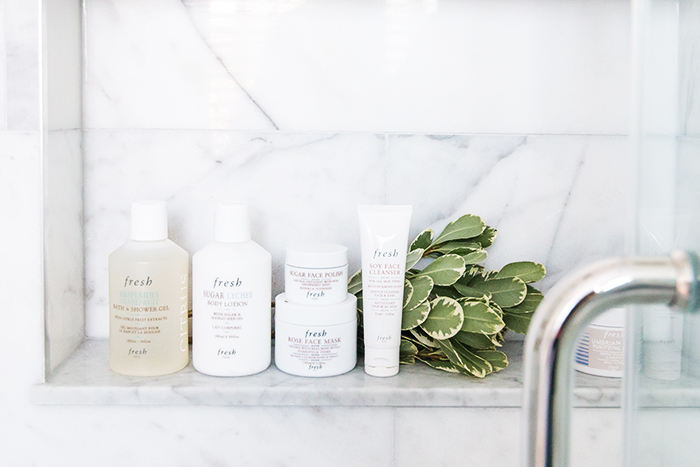
We also had a built in shower niche made so that we can place all our shower items. This in my opinion is a necessity, otherwise you’ll have no place to put your things!
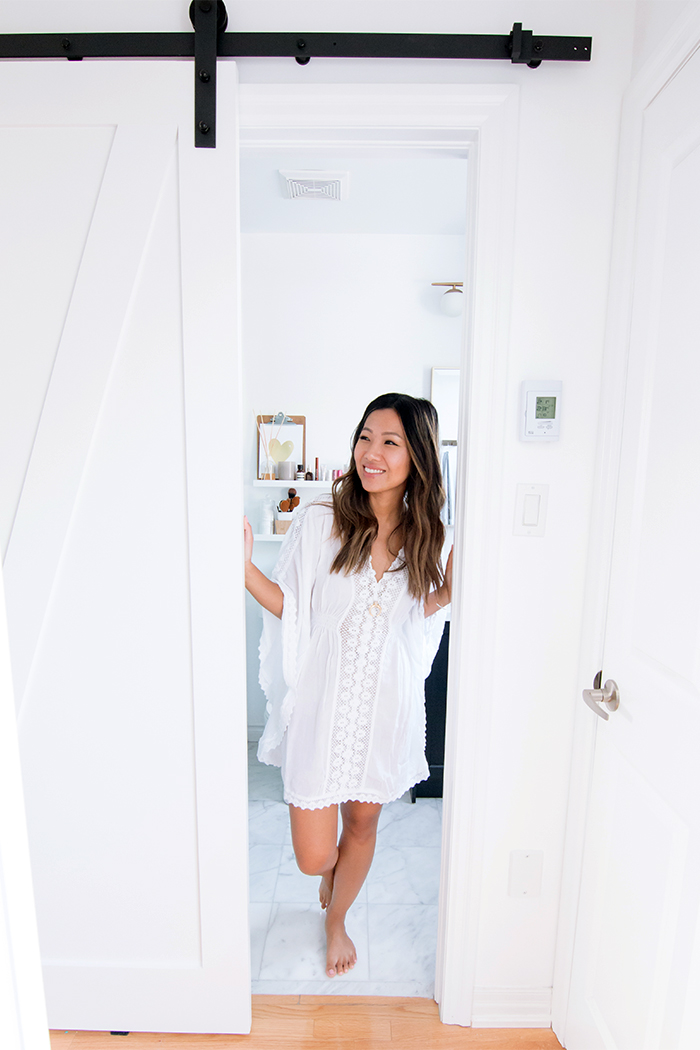
To create more space for the bathroom, we also had our original door removed and replaced with this rustic shaker style barn door. The railing system and door comes separately and its quite easy to install. I adore the matte black finish of the railing system, it’s such a nice contrasting colour surrounded by a sea of white.

Product List: Vanity Lighting and Sconce: Living Lighting | Mirror: Home Sense | Shower Trim, Faucets, and Accessories: Delta Faucets VERO collection (Rain Shower and Hand Shower)| Marble 12×12 Flooring: The Home Depot Canada | Marble 12×24 Wall Tiles: The Home Depot Canada | Florita Mosaic Marble Tiles: The Home Depot Canada | Vanity: Custom| Barn Door: The Home Depot Canada | Door Railing System: The Home Depot Canada | Floral Arrangement: Tonic Blooms | Linens: Linen Chest | Skincare & Makeup: Fresh Beauty & stila | Hexagon Table Mirror: Target
Wearing: Miami Beach Kaftan: Koy Resort
Whether you decided to hire help or tackle your next renovation project DIY style, The Home Depot Canada offers so many options and selections. Best of all, their return policy is so great, we were able to bring back all our unused tiles and materials within 90 days!
I hope you enjoyed these before and after photos of the reveal. I am so so so pleased with the result of this renovation and there is so much more I can write about, but rather than sharing every single nitty gritty detail with you, please leave me a comment or feel free to send me an email or DM me on Instagram if you have any questions at all. I’d love to share my experience with you!
Interior Design: Natalie Ho | Photo Credits: Love Over Lenses
Disclaimer: This post was sponsored by The Home Depot Canada, but all design, ideas, and opinions are my own.
2 comments
Lovely! I’ve been waiting for this reveal 😉
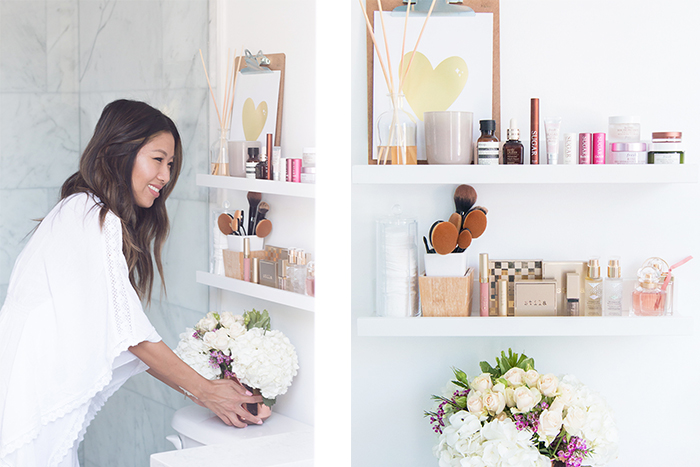
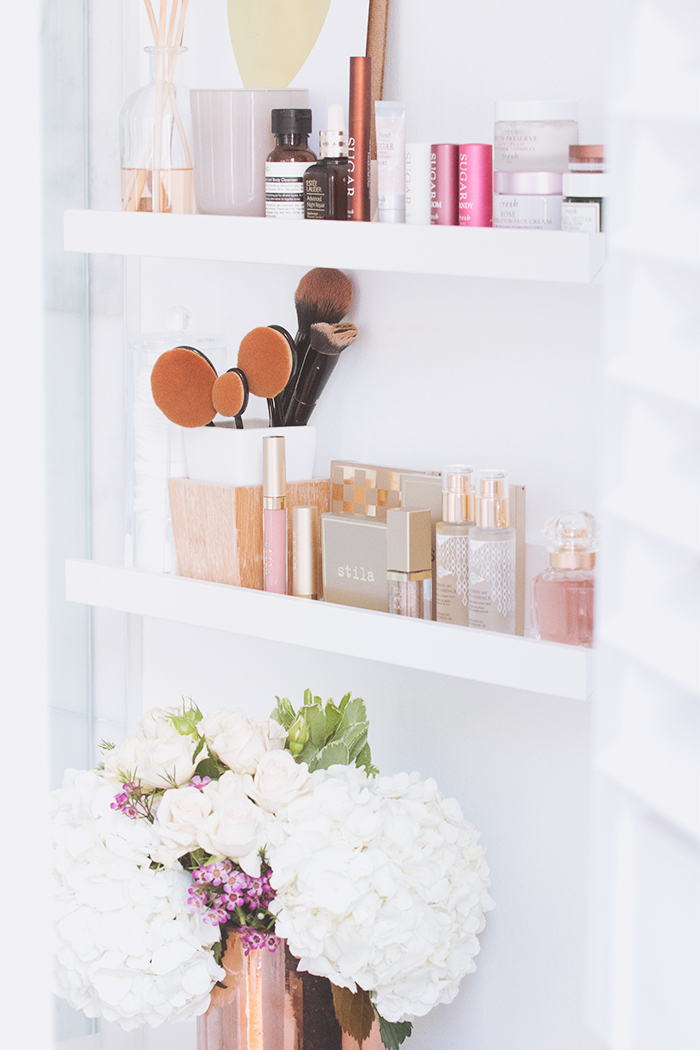
What are those round makeup brushes for?
Thanks! They are just different type of make up brush, for a flat surface coverage over your face! I just started using them, and I like them!