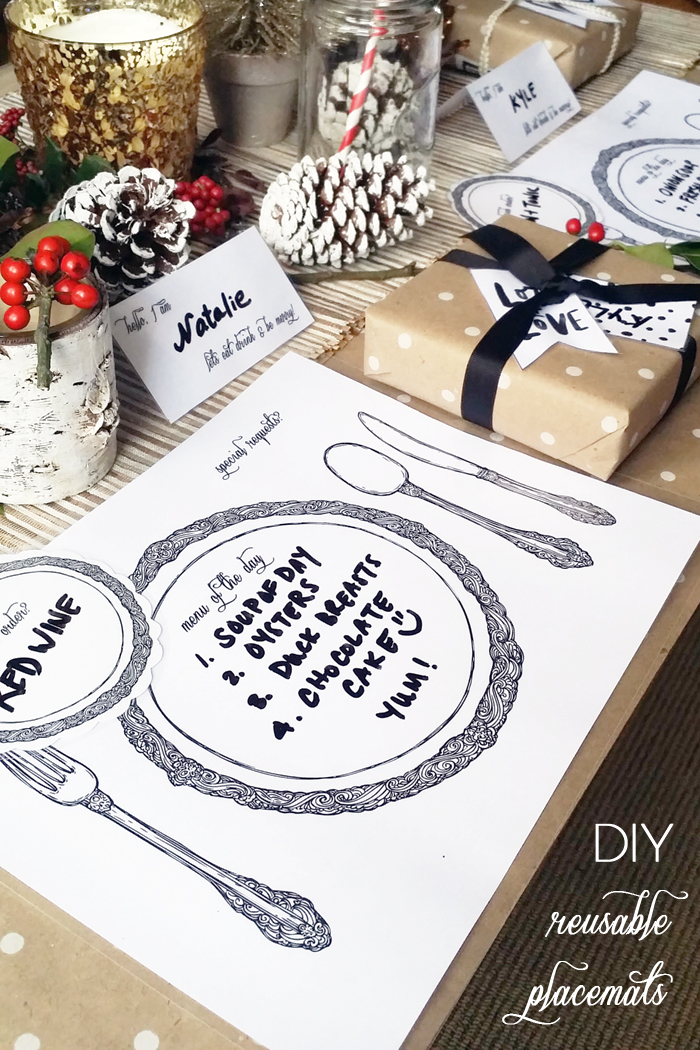
Hooray! Just a couple of days to go until Christmas! Though it is the most exciting time of the year, it can get fairly hectic, don’t you agree? I’ve got a great DIY to help you simplify your table setting and easy clean up too!
This year, Kyle and I are hosting an intimate dinner at our house on Christmas Day. When the two of us eat at home, we are super casual and rarely properly set the table, therefore I am so thrilled that I finally get the chance to ‘formally’ set the dining table. Instead of running out to to purchase a set of matching placemats, coasters, and name cards, I decided to design a fun faux table setting placemat accompanied with matching coasters and place cards.
Guess what? I also laminated these DIY table setting placemats so that they can be personalized and reused for my next dinner parties to come!
What You Will Need:
- 1 unit for the Lunar Laminator & Neutrino Trimmer Bundle
- 25pk assorted laminating pouches or 52pk assorted laminating pouches
- Printable Templates – Download here
- Scissors and scalloped edging scissors (great options here and here)
- Dry erase markers
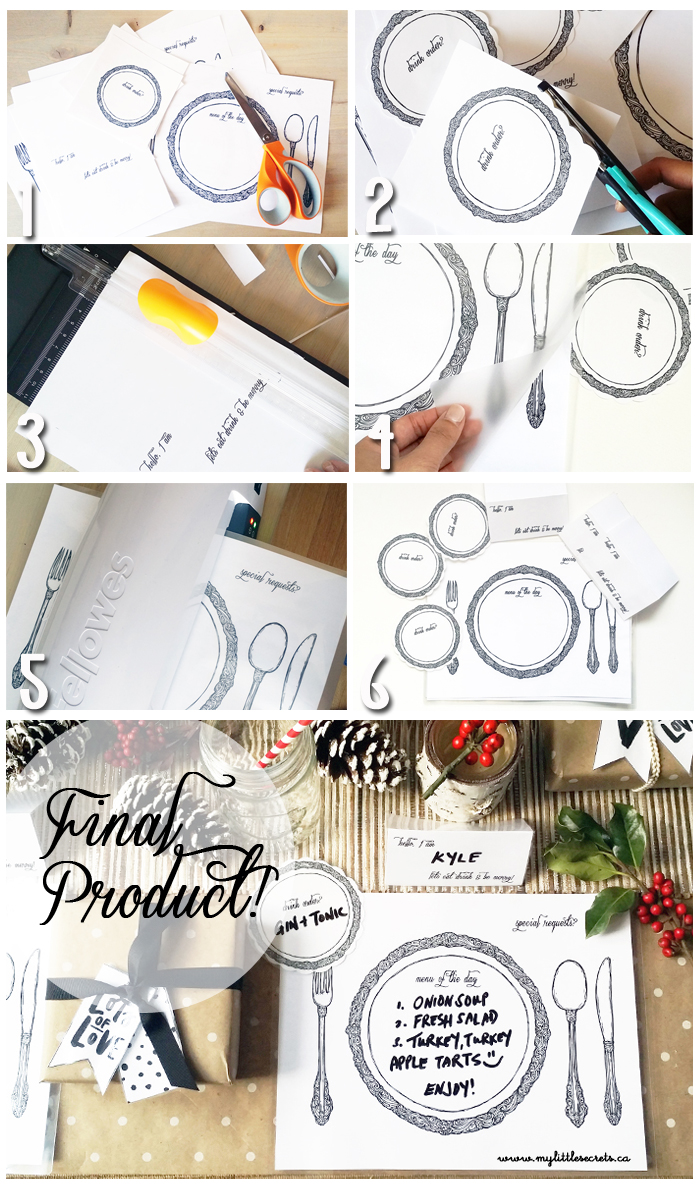
Summary Tutorial:
1) Print copies of the template above 2) Cut templates to size, Optional: Use scalloped edging scissors for a decorative pattern 3) Use trimmer (included in Fellowes Bundle) to cut long, straight edges 4) Insert templates into laminator pouches 5) Follow instructions provided with Fellowes laminator and feed pouches through the machine 6) Let cool and trim edges
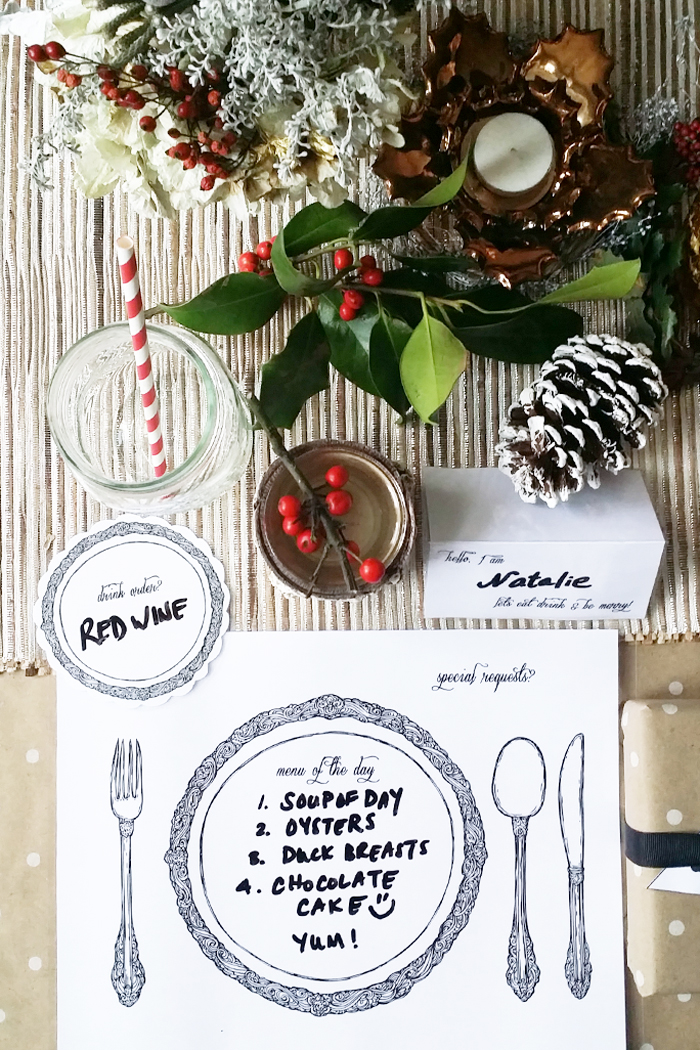

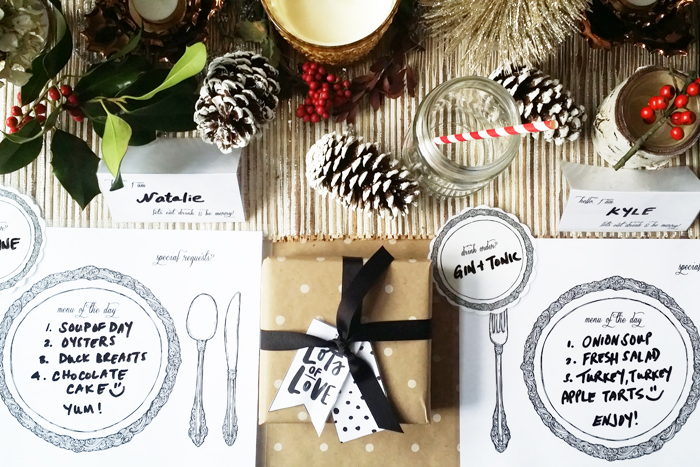
Showcase your menu of the day by using dry erase markers to personalize each place setting. Aren’t these super cute? I’d love to hear your thoughts on these! Who says laminator projects are only for mommies and kids? I also laminated these printable gift tags, I’ve become a total laminator addict and can’t wait to drum up my next DIY projects.
The laminator/trimmer bundle can be purchased at Walmart (in-store and online everyday for $44.90), but is currently on Rollback promotion (online and in-store) for $39.97 until the end of January, so pick yours up and start creating some great laminated projects!
For more laminator project ideas, be sure to check out the Fellowes Idea Center.
3 comments
That looks amazing! Very clever. Happy holidays!
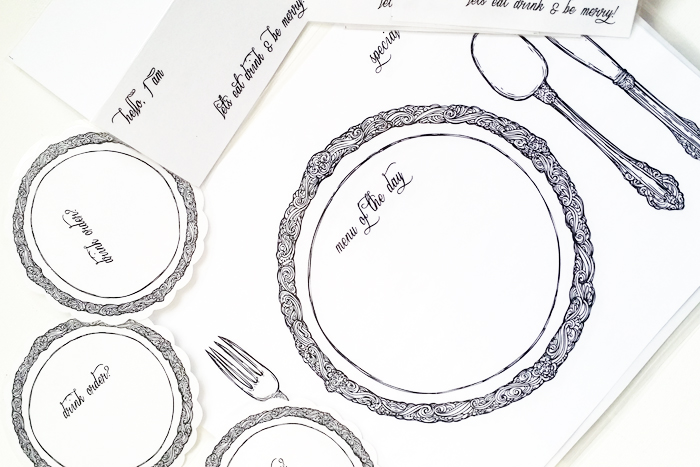
Your placesetting diagram is incorrect. The knife goes next to the plate with the blade side closest to the place. You should fix this diagram
[…] Check the Idea […]