My Little Secrets
  • DIY
    • Fashion
    • Home
    • Inspiration
  • Fashion
    • Outfits
    • Guides
  • Lifestyle
    • Beauty
    • Home & Decor
    • Food & Drink
    • Wedding
  • Mom Life
    • Pregnancy
    • Motherhood
  • About
    • Privacy Policy
    • Press and Features
  • DIY
    • Fashion
    • Home
    • Inspiration
  • Fashion
    • Outfits
    • Guides
  • Lifestyle
    • Beauty
    • Home & Decor
    • Food & Drink
    • Wedding
  • Mom Life
    • Pregnancy
    • Motherhood
  • About
    • Privacy Policy
    • Press and Features

My Little Secrets

A DIY and Lifestyle Blog

DIYHome

DIY :: Mini Succulent Planters

written by Natalie Ho 2016.03.23

Sadly, I don’t have much luck when it comes to keeping plants alive at home but I do love the idea of adding greenery to my space. Therefore, choosing a super low maintenance option works best for me. Friends also suggest for me to add a few fake plants instead, but honestly, nothing can beat the real deal, amiright?

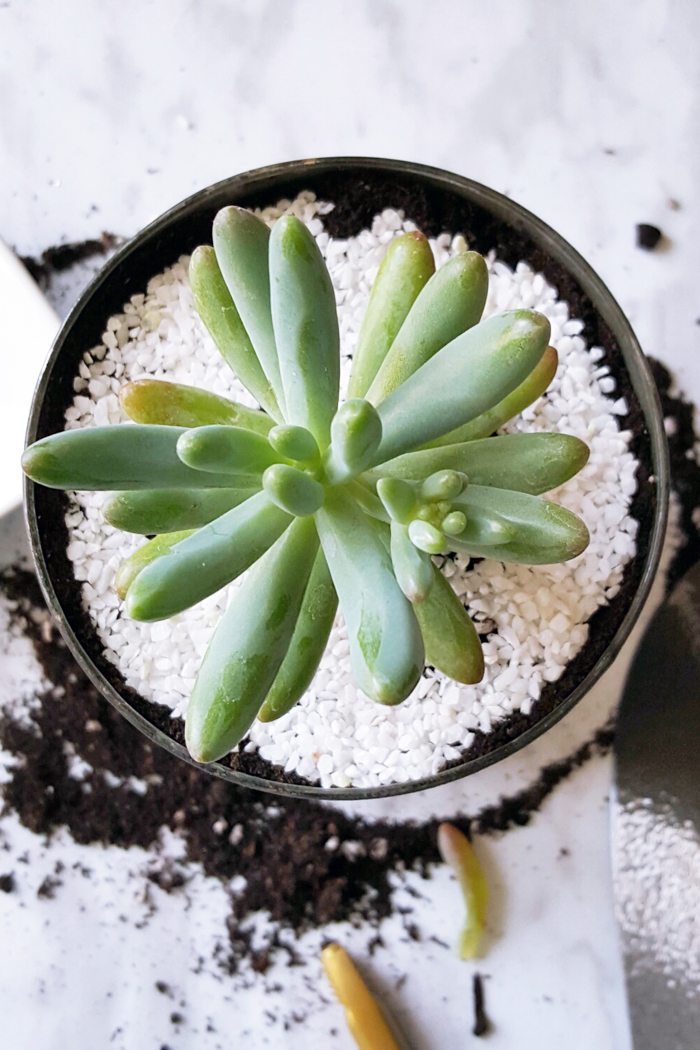
Succulents have always been a favourite. Not only are they super adorable, but they’re also easy to plant and maintain! Which makes the perfect green companion in my house!

I’ve teamed up with Artemano to show you just how easy it is to transform a simple candle holder into a DIY mini succulent planter!

Read further to find out how to attend a complimentary DIY Succulent Event I’m hosting next week!
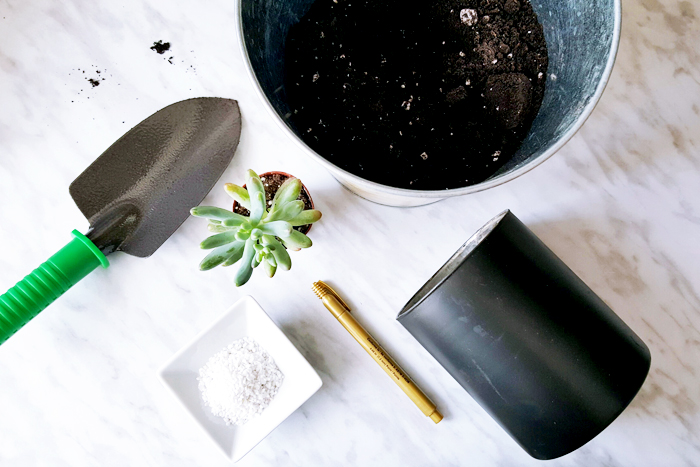
DIY Mini Succulent Planter
What You’ll Need:

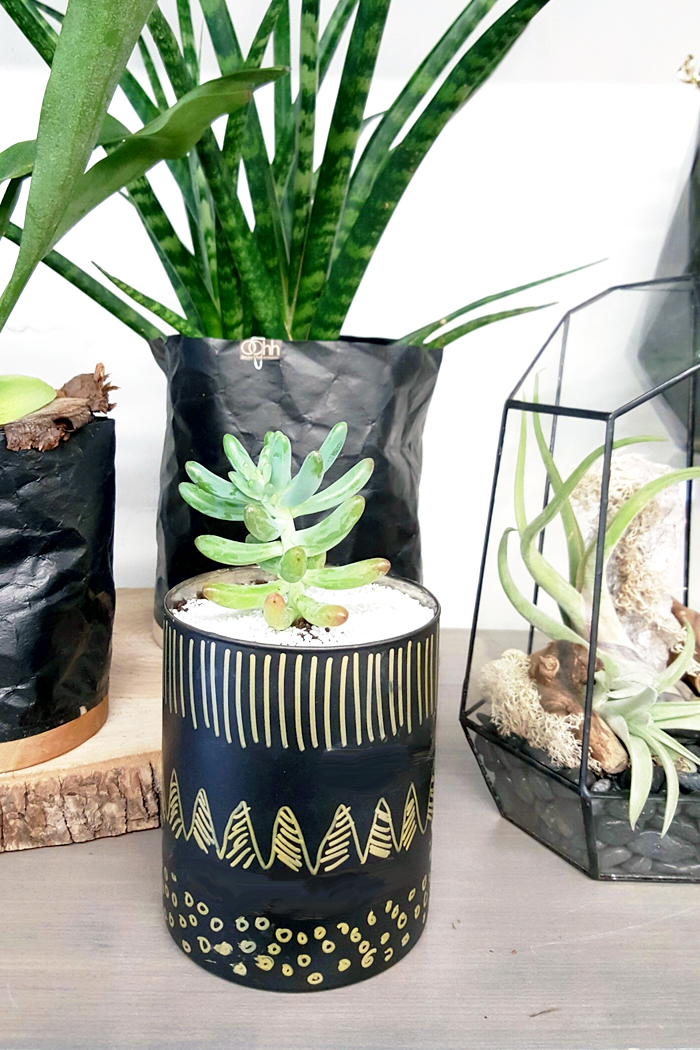
  • A plant holder – I transformed this plain matte black glass candle holder from Artemano into a planter
  • Succulent plant (purchased from Stok floral & design)
  • Gold metallic pen
  • Planting Trowel
  • Mini rocks (optional)

DIY Mini Succulent Planters Materials
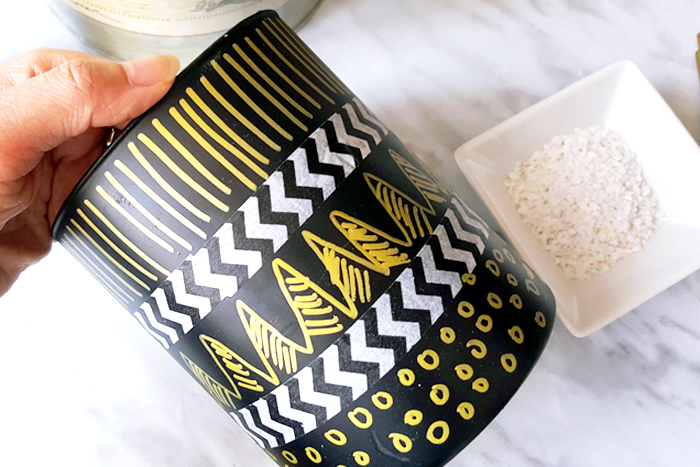
These candle holders are perfect as plant holders as well. The matte black surface makes it ideal for metallic pens. I used washi tape to create a perimeter to help me stay in line.

1
I doodled a simple design by freehanding lines and geometric patterns. Feel free to get creative here!

4
Once you’re happy with the design, you’re ready to plant! If you’re using a container that doesn’t have drain holes, you should line the bottom with some rocks before filling in with soil. This helps with water drainage. Fill the container with soil almost up to the top. Then dig out an area with your hands and place the succulent plant into the center. Pack a bit more soil up top to fill in gaps. At this stage, be sure to pack the soil tightly so that the succulent is nested neatly and securely.

steps
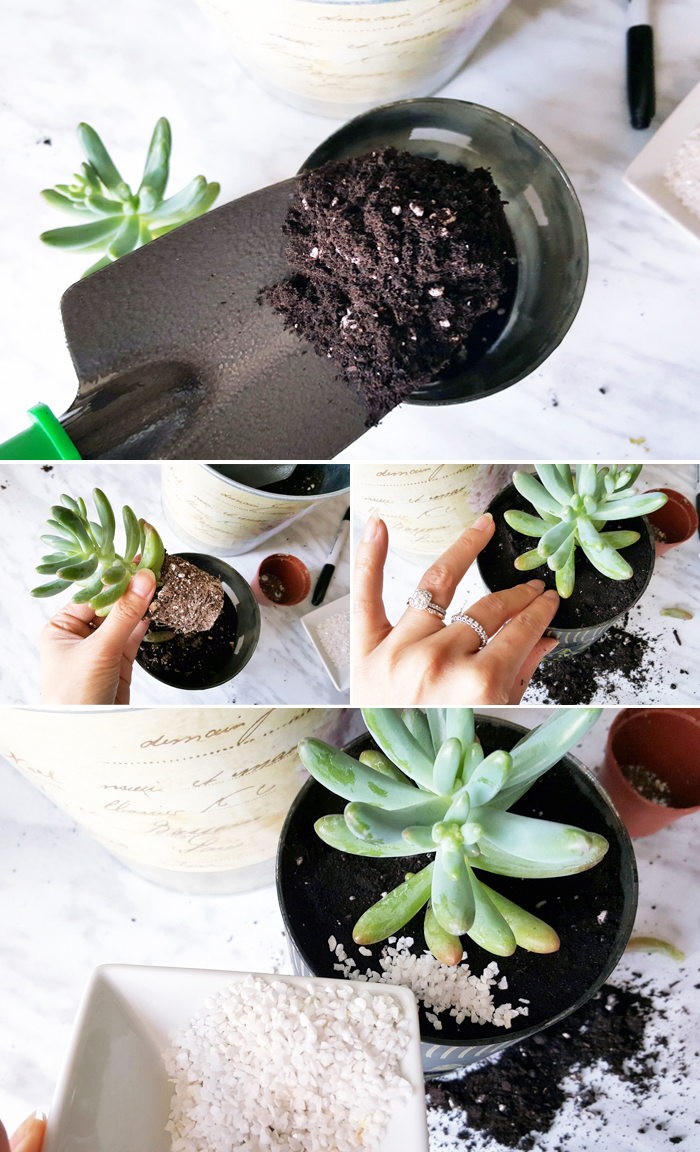
Once you’ve packed down the soil, the last step is to line the top with mini rocks. This is optional, but I think it looks beautiful and makes the succulent pop!

DIY Mini Succulent Planters 2
Be sure to water your succulent at least once a week. Depending on the humidity of your living space, some plants may need more water than, so I recommend monitoring and making adjustments in the early days.

I’m hosting a by-invitation only DIY Event at the Artemano Don Mills, Toronto location on Monday, March 28, 2016 at 7 p.m.

DIY Succulent workshop Toronto Artemano with My Little Secrets

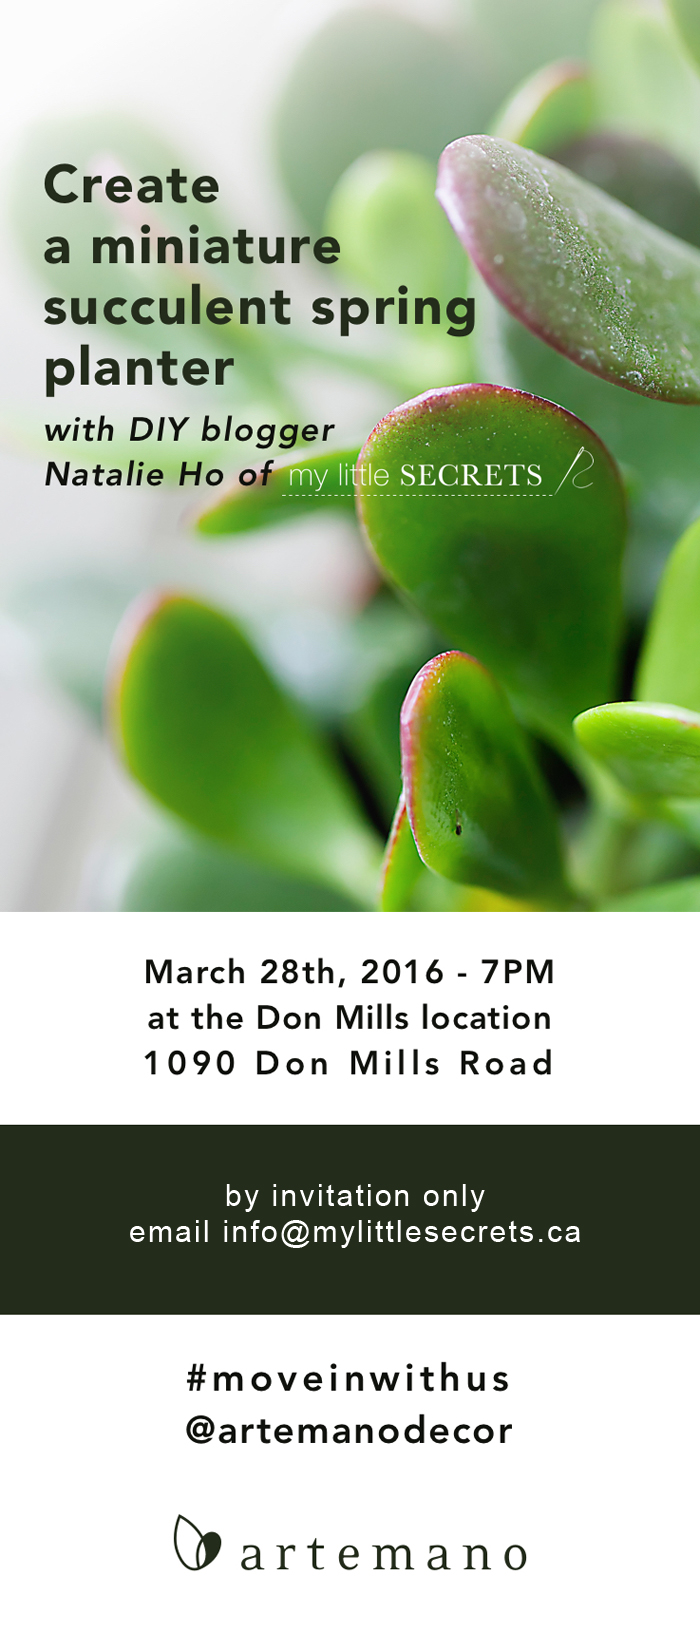
*RSVP Now Closed* We will be creating these succulent planters together! This is a complementary event, however you must be on the guestlist to attend. For those of you interested, I have a few seats left. Please contact me info[at]mylittlesecrets.ca with your details and I’ll confirm a seat for you if available!

I hope you liked this simple tutorial! Until next time!

Connect with Me!
Facebook   Twitter   Pinterest   Instagram   Bloglovin‘
Artemano
2 comments
0
Facebook Twitter Google + Pinterest
Natalie Ho

Hi, I'm Natalie! Thanks for stopping by my DIY and Lifestyle blog. I hope you find many inspirations and ideas to elevate your daily life!

previous post
Home Decor :: Spring Updates with OOAK
next post
Food & Drink :: Easter Meringue Nests {$100 Giveaway}

You may also like

HoliDIY :: Glitter Gold Sneakers (with Girls of...

2013.12.05

Feature: Cut Out + Keep

2013.09.18

DIY :: Unique Gift Wrap Ideas

2015.12.16

DIY :: C’est Joli x BRIKA Summer Bracelets...

2014.06.27

DIY :: Dry Erase Acrylic Photo Cards &...

2015.02.12

DIY :: Mini Holiday Paint Projects

2014.12.10

DIY :: Thrift Store Show Down {The Marilyn...

2014.06.04

DIY Inspiration :: Alexander Wang Inspired Gladiator Heels

2013.06.10

DIY :: Reusable Table Setting Placemats

2014.12.23

DIY Inspiration :: Vintage Gold Buttons

2013.02.18

DIY :: Silk Scarf Skort

2013.08.08

Designher Kit :: DIY Subscription Kits at your...

2013.11.01

2 comments

Catherin 2016.03.30 - 12:53 pm

LOVED this DIY, I tend to kill plants too, so I’ll definitely be going to the store later this week to get the supplies to create this.

xx
Catherine | Beauty by Catherine

Reply
Natalie Ho 2016.03.31 - 8:41 pm

Aww thanks!!! Best of luck to you but I am sure you will manage, this plant is super low maintenance!

Xo

Reply

Leave a Comment Cancel Reply

This site uses Akismet to reduce spam. Learn how your comment data is processed.

Search

Connect

Facebook Twitter Instagram Pinterest Email

About Me

About Me

Hi, I'm Natalie!

Thanks for stopping by my DIY and Lifestyle blog. I hope you find many inspirations and ideas to elevate your daily life!

Subscribe

On Pinterest

@mlsecrets

Recent Posts

  • Motherhood: Easy and Educational Toddler Meal in Minutes with Chef Boyardee ABC 123

    2021.12.30
  • Home & Decor :: 4 Easy Halloween Home Decorations with your Cricut

    2021.10.28
  • Motherhood: Best Toddler Books Under $20

    2021.04.16
  • Home & Decor :: Before & After – A Living Room Transformation with Urban Barn

    2021.04.01
  • Motherhood: Must-Haves to Combat Toddler Cold and Flu Season

    2021.01.28
Close

PSST, Hey There!

Subscribe and receive all of my little secrets in your inbox.

Latest posts on Instagram

No images found!
Try some other hashtag or username
  • Facebook
  • Twitter
  • Instagram
  • Pinterest
  • Email
Footer Logo

Copyright © my little secrets


Back To Top