My Little Secrets
  • DIY
    • Fashion
    • Home
    • Inspiration
  • Fashion
    • Outfits
    • Guides
  • Lifestyle
    • Beauty
    • Home & Decor
    • Food & Drink
    • Wedding
  • Mom Life
    • Pregnancy
    • Motherhood
  • About
    • Privacy Policy
    • Press and Features
  • DIY
    • Fashion
    • Home
    • Inspiration
  • Fashion
    • Outfits
    • Guides
  • Lifestyle
    • Beauty
    • Home & Decor
    • Food & Drink
    • Wedding
  • Mom Life
    • Pregnancy
    • Motherhood
  • About
    • Privacy Policy
    • Press and Features

My Little Secrets

A DIY and Lifestyle Blog

BeautyLifestyle

DIY :: At Home Gel Manicure

written by Natalie Ho 2013.03.10

I have a confession to make. I am a recovered Gel (Shellac) Mani Addict! In 2011, I was introduced to Gel Mani (it was Shellac that I tried) for the first time and after my first try, I was addicted! In that year, I never had my nails bare without Shellac applied. For those of you who don’t know what Gel Mani is, it is a special polish that is applied and then cured under UV lighting with no ‘dry’ time, weeks of wearing with no chipping and no peeling.  After countless applications, both my nails and my wallet suffered, so on Jan 1, 2012, my resolution was to cut Shellac out of my life. Proud to say that it was not until a couple of weeks ago that I went back to the salon for a Gel Mani and let me tell you … I felt that strong addiction creeping back again!!

With that being said, I was so excited when Red Carpet Manicure sent me a Gel Polish Pro Kit Set, just at the right time. I was a little skeptical of this product and thought… there is no way I can do this myself at home and achieve the same salon results.   I was wrong, I was 100% impressed and satisfied with this product!

Keep reading for my full review on Red Carpet Manicure and step by step instructions!

Red Carpet Manicure Review, At Home Gel Manicure, At Home Shellac

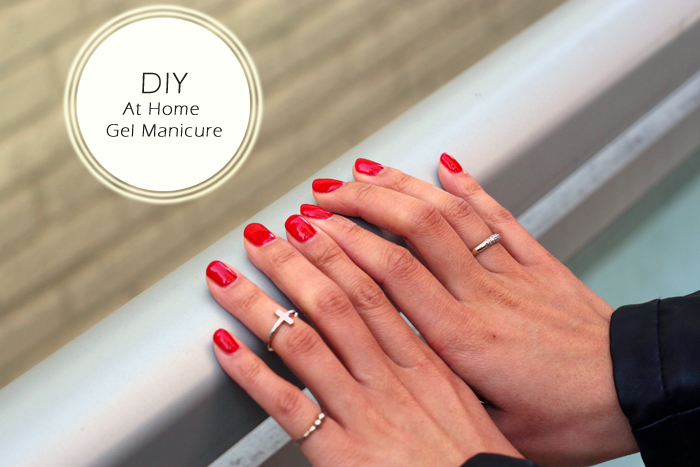
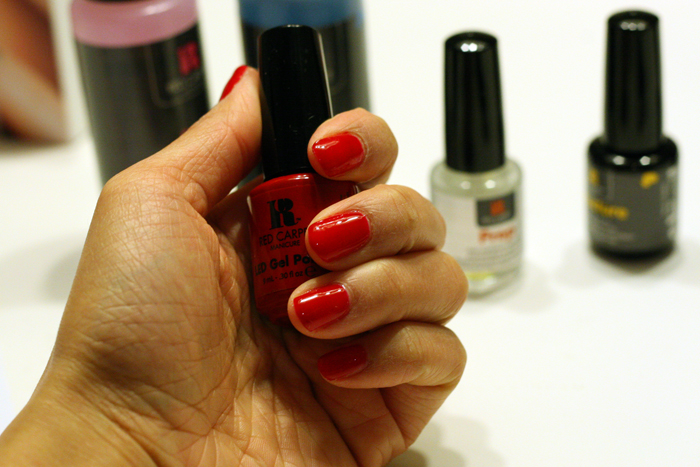
Nail: Red Carpet Manicure Gel Polish in Red Carpet Reddy

Red Carpet Manicure Review, At Home Gel Manicure, At Home Shellac

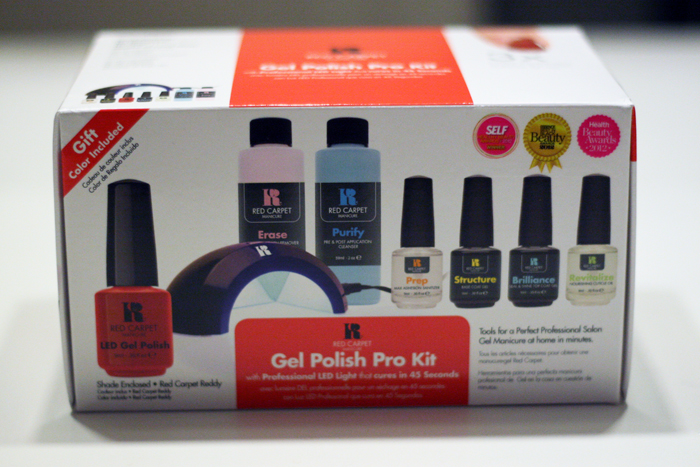
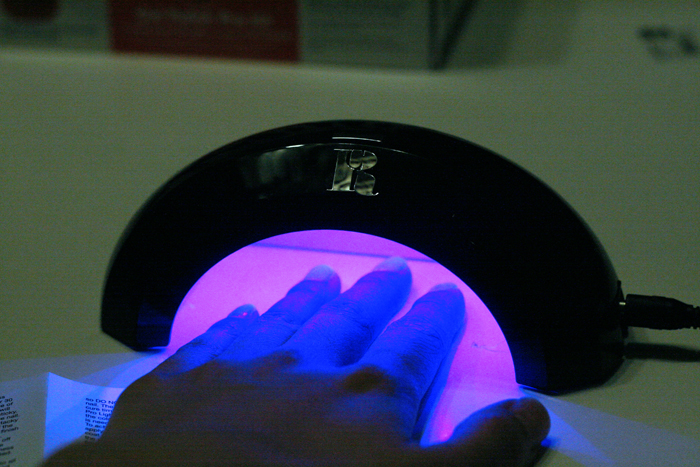
The Red Carpet Gel Polish Pro Kit come equipped with everything you need to start your DIY At Home Gel Manicure journey. The UV lamp enclosed is portable and only requires a 30-45 second cure time. Which means it only took me less than 15 minutes from start to finish to complete my manicure.

Red Carpet Manicure Review, At Home Gel Manicure, At Home Shellac

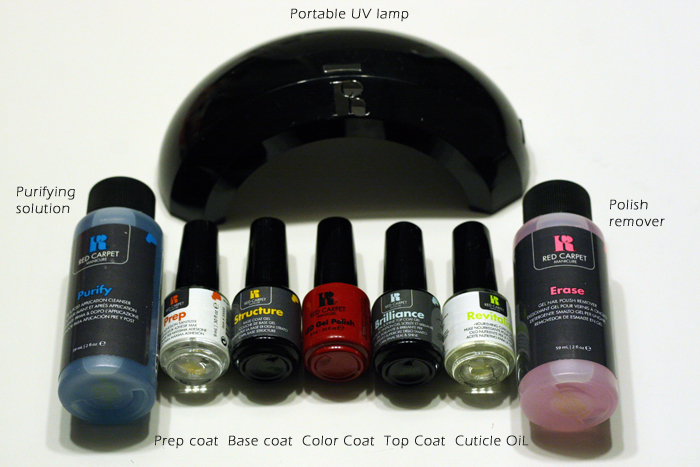
Don’t be intimidated by the number of bottles, it is super easy to get started.

1. Shape and file nails as usual

2. Use Purifying Solution to remove any residue from nails

3. Apply one coat of Prep

4. Apply one coat of Structure, cure under lamp for 30 seconds

5. Apply one coat of color polish, cure under lamp for 45 seconds (repeat twice for each hand)

6. Apply one coat of Brillance, cure under lamp for 45 seconds

7. Wipe nails with Purifying Solution for super shine!

To see a full set of How to Videos – click here!

Red Carpet Manicure Review, At Home Gel Manicure, At Home Shellac

Here you have it! I did this on Thursday, and so far NO CHIPS, NO PEELS, NO DULLNESS. I am so happy with the results!

Red Carpet Manicure Review, At Home Gel Manicure, At Home Shellac

I hope you had a wonderful weekend! I had some beach volleyball fun with a group of friends for a birthday party and spent a Friday night watch endless episodes for Diners, Drive-Ins, and Dives!

Special thanks to Melissa for introducing me to Red Carpet Manicure and allowing me to DIY my own gel mani at home, saving both time and money!

Connect with Me!
Facebook   Twitter   Pinterest   Instagram   Bloglovin’
red carpet manicure
3 comments
0
Facebook Twitter Google + Pinterest
Natalie Ho

Hi, I'm Natalie! Thanks for stopping by my DIY and Lifestyle blog. I hope you find many inspirations and ideas to elevate your daily life!

previous post
Outfit :: Neon Yellow and My Bernelle’s
next post
Outfit :: Black & White with My Bernelle’s

You may also like

Gift Guide {and giveaway} :: Swoon-worthy Gifts for...

2017.05.03

Food & Drink :: Which Nespresso Machine is...

2018.03.27

Surprise, Surprise, a Beauty Surprise :: GLOSSYBOX Review...

2013.01.22

Lifestyle :: Blush & Bloom Studio

2014.02.20

Beauty :: A Smart Serum for All Ages

2014.10.06

Food & Drink :: Pecking Duck Fries with...

2015.10.21

Travel :: Surprise Anniversary Weekend Getaway c/o La...

2017.07.27

DIY :: Painted Love Nail Art

2015.05.23

Lifestyle :: Making Simple Choices to Love

2016.01.27

Home Decor :: Creative Office

2013.11.08

Valentine’s Giveaway :: GUESS His and Her Fragrance...

2014.02.03

Lifestyle :: You are What you Eat

2015.03.24

3 comments

milena 2014.01.21 - 9:36 am

nice…;)
http://esercitodicobalto.blogspot.it/

Reply
aiyana 2014.01.21 - 9:36 am

very cool, one day i’ll have to try one of these.. maybe when i spot one on sale!
http://citystylecountrysmile.com

Reply
Samar 2015.10.22 - 4:19 pm

Iv just bought but I’m not happy at all its not gonna dry in 30 sec even more than that .it’s sticky ; (

Reply

Leave a Comment Cancel Reply

This site uses Akismet to reduce spam. Learn how your comment data is processed.

Search

Connect

Facebook Twitter Instagram Pinterest Email

About Me

About Me

Hi, I'm Natalie!

Thanks for stopping by my DIY and Lifestyle blog. I hope you find many inspirations and ideas to elevate your daily life!

Subscribe

On Pinterest

@mlsecrets

Recent Posts

  • Motherhood: Easy and Educational Toddler Meal in Minutes with Chef Boyardee ABC 123

    2021.12.30
  • Home & Decor :: 4 Easy Halloween Home Decorations with your Cricut

    2021.10.28
  • Motherhood: Best Toddler Books Under $20

    2021.04.16
  • Home & Decor :: Before & After – A Living Room Transformation with Urban Barn

    2021.04.01
  • Motherhood: Must-Haves to Combat Toddler Cold and Flu Season

    2021.01.28
Close

PSST, Hey There!

Subscribe and receive all of my little secrets in your inbox.

Latest posts on Instagram

No images found!
Try some other hashtag or username
  • Facebook
  • Twitter
  • Instagram
  • Pinterest
  • Email
Footer Logo

Copyright © my little secrets


Back To Top