My Little Secrets
  • DIY
    • Fashion
    • Home
    • Inspiration
  • Fashion
    • Outfits
    • Guides
  • Lifestyle
    • Beauty
    • Home & Decor
    • Food & Drink
    • Wedding
  • Mom Life
    • Pregnancy
    • Motherhood
  • About
    • Privacy Policy
    • Press and Features
  • DIY
    • Fashion
    • Home
    • Inspiration
  • Fashion
    • Outfits
    • Guides
  • Lifestyle
    • Beauty
    • Home & Decor
    • Food & Drink
    • Wedding
  • Mom Life
    • Pregnancy
    • Motherhood
  • About
    • Privacy Policy
    • Press and Features

My Little Secrets

A DIY and Lifestyle Blog

DIYFashion

DIY: Iron-On Sweatshirt

written by Natalie Ho 2013.10.01

TGIF (even though its Friday the 13th!)! I’ve been feeling a little under the weather lately and glad to finally regain some of my energy. I’ve been cozying up with a sweatshirt on the couch the last few days and reminded me of the screen printed word/phrase tees and sweatshirts (see this and this) I’ve been swooning over lately. Of course, that got my DIY juices flowing and couldn’t resist but to create my own.

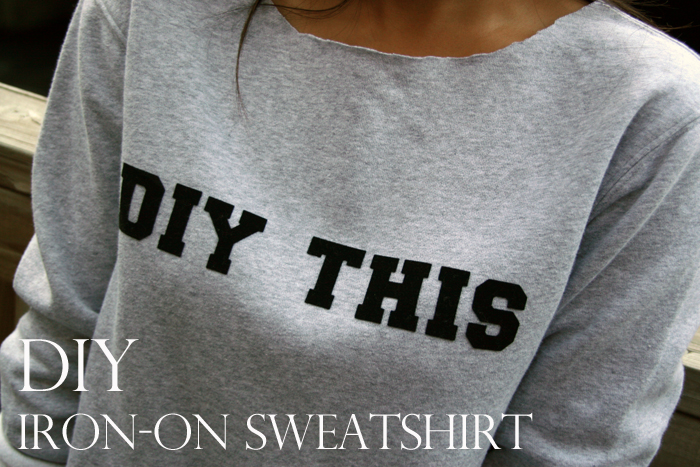
I contemplated between a few phrases – If You Love It, Make It; DIY Queen; Make It; #DIYTHIS; and finally decided to go with this simple yet meaningful phrase – “DIY THIS”.

It only takes a few minutes and a few bucks so… “DIY THIS”!
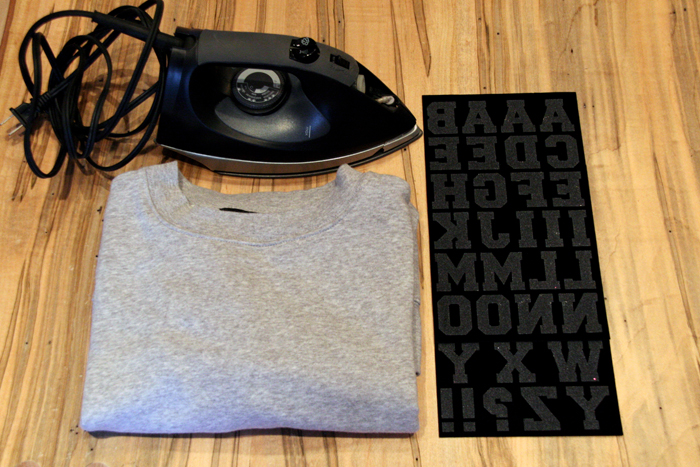
DIY Sweatshirt, Word Sweatshrt, Printed Sweatshirt, Iron-On Sweatshirt


What you will need:

  • A basic sweatshirt – find lots of colours here
  • Iron-on letter transfers
  • Iron
  • Scissors
  • A thin towel 

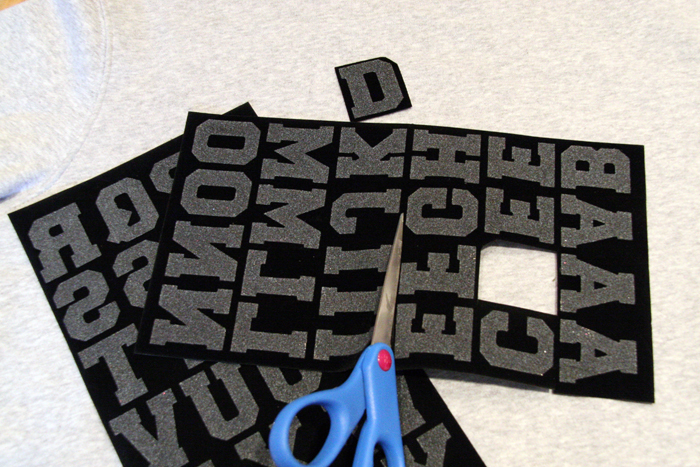
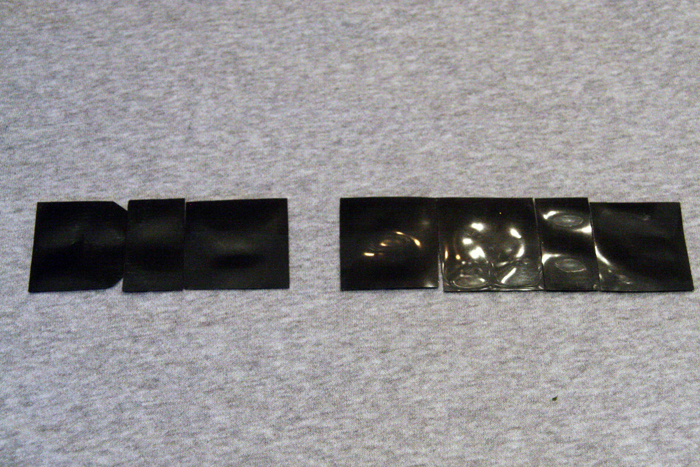
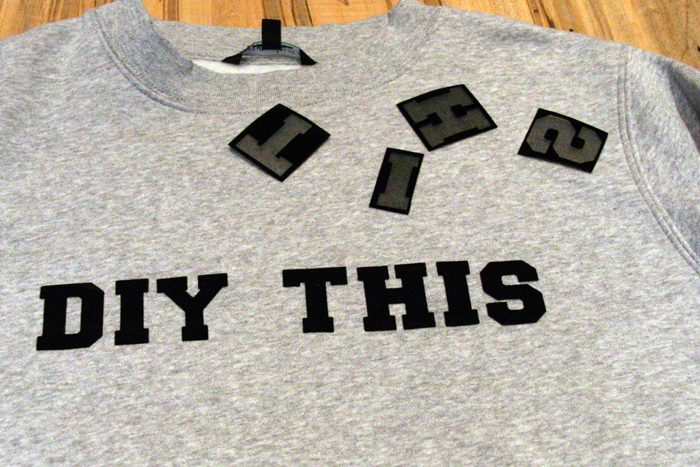
1. Once you’ve come up with your clever phrase, cut out the letters one by one. Ensure to leave a little bit of an edge for each letter.

DIY Sweatshirt, Word Sweatshrt, Printed Sweatshirt, Iron-On Sweatshirt

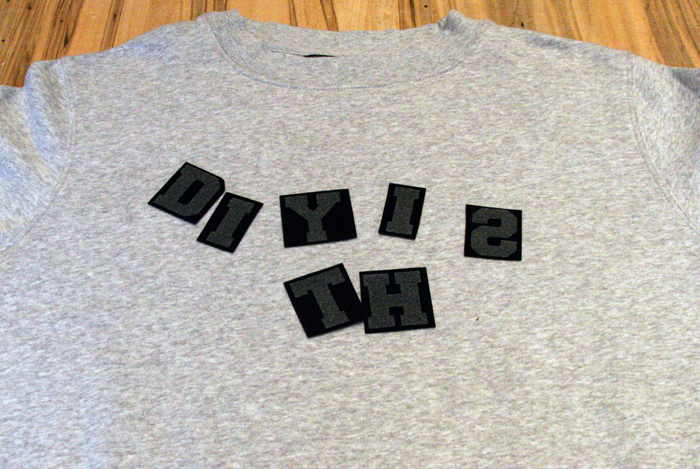
2. Lay the sweatshirt on a flat surface and ensure it is even. Play around with the arrangement of the letters.

3. Once you’ve decided on the arrangement, lay the letters down with the plastic side facing up.

NOTE: Make sure your letters are not backwards or upside down!!!


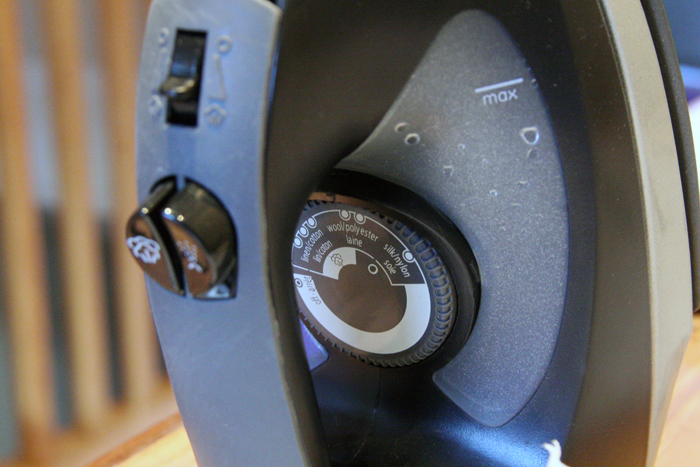
4. Heat up the iron and turn to the Wool setting (or follow your transfer sheet instructions).

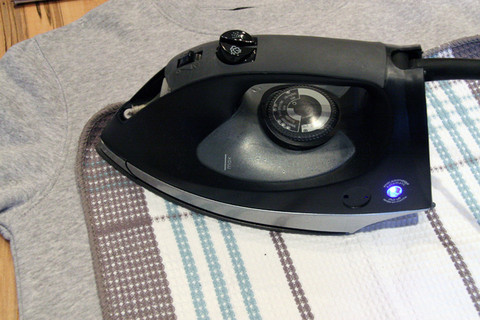
5. Lay a cotton towel on top of the letters. Firmly press the iron over the towel and letters. Approximately one minute. Go over firmly several times, especially around the edges of the letters.

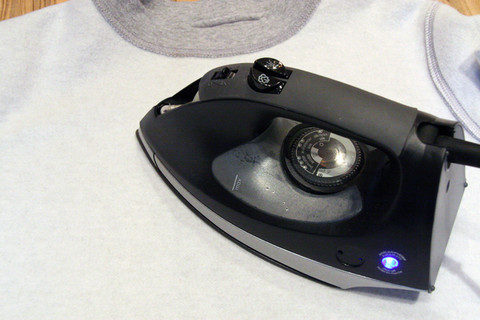
6. Flip the sweatshirt inside out, press the iron firmly over the inside surface for approximately 20 seconds.


7. Gently peel the plastic backing off of each letter.

DIY Sweatshirt, Word Sweatshrt, Printed Sweatshirt, Iron-On Sweatshirt

VOILA!!! DIY THIS!

DIY Sweatshirt, Word Sweatshrt, Printed Sweatshirt, Iron-On Sweatshirt

DIY Sweatshirt, Word Sweatshrt, Printed Sweatshirt, Iron-On Sweatshirt

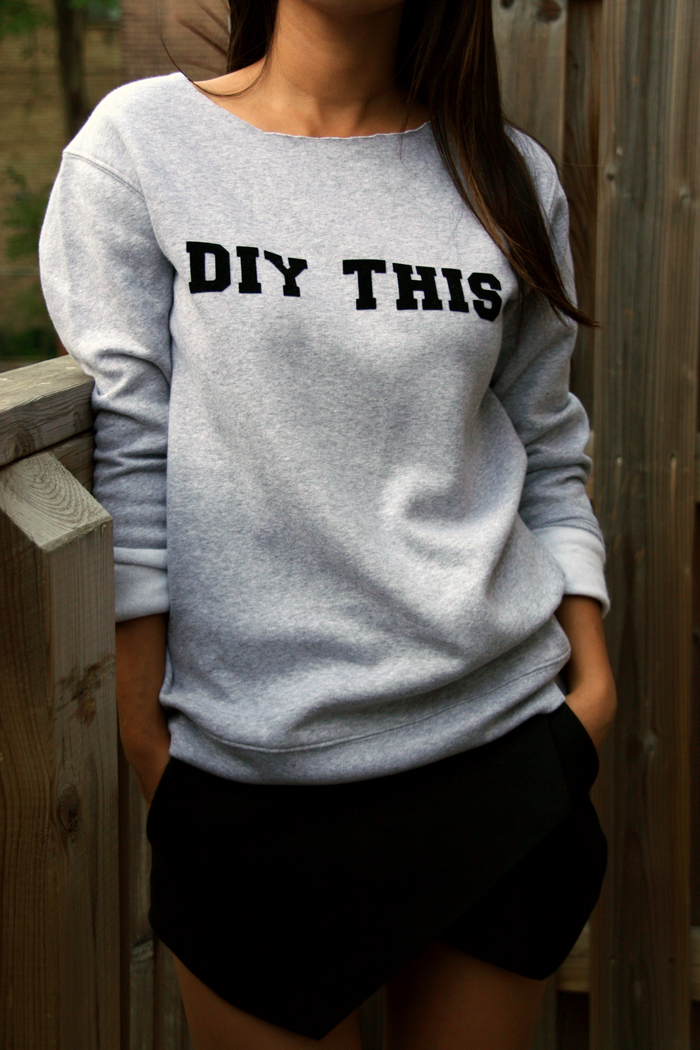
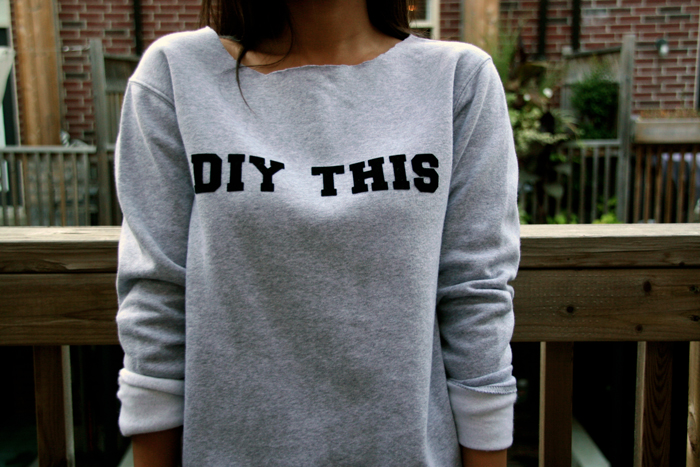
I’m pretty excited about sporting this “DIY THIS” sweatshirt. It can be dressed up with a skirt and a pair of heels or dressed down with a pair of ripped jeans and flats. I also decided to cut the neckline with scissors to create a wider neckline instead of a crew neck. However, I think I’ll leave it the way it is when I attempt my second sweatshirt!

What phrase would you put on your version?

I hope you had a great week and heading into a fun-filled weekend. More home decor projects for me this weekend, hoping to share some photos with you soon.

Oh! I’m also uber excited to be contributing on SheKnows regularly very soon! Be sure to check out my DIY projects then!

Connect with Me!
Facebook   Twitter   Pinterest   Instagram   Bloglovin’
Sweatshirt
7 comments
0
Facebook Twitter Google + Pinterest
Natalie Ho

Hi, I'm Natalie! Thanks for stopping by my DIY and Lifestyle blog. I hope you find many inspirations and ideas to elevate your daily life!

previous post
DIY :: Gold Number Magnets
next post
Style Tip :: Sophisticated Work Wear for Fall/Winter 2013

You may also like

DIY :: {Built-In} Chalkboard/Blackboard Art

2014.07.02

DIY Inspiration :: Chalkboard/Blackboard Art

2014.05.28

DIY :: Glitter Tape Tic Tac Toe Glass...

2016.12.07

Designher Kit :: DIY Subscription Kits at your...

2013.11.01

DIY :: Tassel Wrap Sandals (inspired by Jimmy...

2013.07.03

DIY :: Dry Erase Acrylic Photo Cards &...

2015.02.12

DIY :: Wedding Terrarium Favors

2015.11.17

HoliDIY :: Glitter “MERRY” Canvas

2013.11.29

DIY :: Father’s Day Shoe Shine Kit

2014.06.09

DIY :: Thrifted Trench Dress

2013.04.14

DIY :: Lindt Chocolate Christmas Crackers {and $100...

2017.12.15

DIY :: Christmas Advent Calendar with Joe Fresh

2015.12.01

7 comments

Erin @ Thanks, I Made it 2014.01.03 - 2:47 am

ahh that phrase is awesome! so fun ; )

Reply
Natalie (My Little Secrets) 2014.01.03 - 2:47 am

Thanks Erin!!! I can totally see you sport one of these! – Natalie

Reply
debbie 2014.03.16 - 9:30 pm

Love this clever project. Hmmmm I think I would use DIY Geek (ha). Be Daring. l o v e

Reply
Natalie Ho 2014.03.17 - 9:34 am

Thanks Debbie!!! Please share your final project with me the Facebook Page! http://www.facebook.com/mylittlesecrets

Reply
DIY: Iron-On Sweatshirt – Felting 2014.10.18 - 4:54 pm

[…] Natalie is the DIY fashionista behind My Little Secrets; DIY and Lifestyle Blog based in Toronto.  I like the words she put on her sweatshirt.  I have used these felt letters many times and they wash up perfectly. You can also get fun script letters in black or white and I see colored ones too. She has a hot link to Amazon for sweatshirts and letters. This is one really easy project that you can use to make gifts for the family.  Thanks Natalie for sharing your cute idea.  TUTORIAL HERE! […]

Reply
DIY: Iron-On Letter Sweatshirt – Felting 2015.02.28 - 7:01 pm

[…] Here is a tutorial that will show you how to use iron on letters on a sweatshirt or T-shirt.  I have used iron on letters many times and they are extraordinary.  I have never had a problem laundering these letters that stay on even in the hottest water. You can really make some cute shirts for you and your children or as a gift. This DIY comes from Natalie of my “Little secrets” and it is easy and inexpensive for you to make Natalie’s sweatshirt. She does give you a link to where you can purchase the iron felt letters. By the way, they are coming out with more colors, like gold and silver letters that would make perfect tees for a bridal shower or baby shower.  TUTORIAL HERE! […]

Reply
Kristen 2016.09.19 - 10:17 pm

There’s a hoodie I’m obsessed with, but it’s $92 dollars! Ain’t no one got time for that!! Excited to try this out! Thank you for sharing!!

Reply

Leave a Comment Cancel Reply

This site uses Akismet to reduce spam. Learn how your comment data is processed.

Search

Connect

Facebook Twitter Instagram Pinterest Email

About Me

About Me

Hi, I'm Natalie!

Thanks for stopping by my DIY and Lifestyle blog. I hope you find many inspirations and ideas to elevate your daily life!

Subscribe

On Pinterest

@mlsecrets

Recent Posts

  • Motherhood: Easy and Educational Toddler Meal in Minutes with Chef Boyardee ABC 123

    2021.12.30
  • Home & Decor :: 4 Easy Halloween Home Decorations with your Cricut

    2021.10.28
  • Motherhood: Best Toddler Books Under $20

    2021.04.16
  • Home & Decor :: Before & After – A Living Room Transformation with Urban Barn

    2021.04.01
  • Motherhood: Must-Haves to Combat Toddler Cold and Flu Season

    2021.01.28
Close

PSST, Hey There!

Subscribe and receive all of my little secrets in your inbox.

Latest posts on Instagram

mylittlesecrets_ca

 3198    25410


  • F A T H E R : Happy Father
  • T R A V E L : Whether I’m taking short trips or long, I always remember to pack Everett’s daily vitamins along. With vitamins, it’s all about consistency! @jamiesoncanada Baby Probiotic Drops promotes a healthy, favourable gut flora.. During the first six months of life, many babies experience colic, acid reflux and constipation. Probiotics can support in relieving these discomforts. The Baby Omega Drops are another product worth considering for your baby’s health that offers a variety of health benefits during your baby’s developmental stages. To learn more, visit www.jamiesonvitamins.com #Jamieson_Partner #HereForYourHealth . . . #vitamins #probiotic #babyvitamins #health
  • C O F F E E : Back from vacation and loads of emails to catch up on which means I
  • V A C A T I O N : Happy long weekend friends! Family vacation 2022 was a success and sharing some of my favourite snaps from last week! All the preparation, anxiety over my passport and travelling with an anti-nap, super inquisitive toddler was well worth it! Can
  • P L A Y M O B I L : I surprised little E with a few toys from the latest launch of @playmobil PLAYMOBIL Duck On Call! He loves emergency vehicles and this collection has so many variations from ambulances, fire trucks, to police cars!! The one Everett is playing with is the Mobile Operations Center, I love how compact it is, you can store all the little pieces and lock it up with a little key! The Duck On Call collection is now available in stores! Swipe to see Everett in action putting the bad guy in
  • M O M : Happy Mother
  • M A Y : *giveaway* Happy first day of May!! In celebration of this very special month (both my birthday and mother
  • B L U E B E R R Y : ( AD) Who loves Blueberry Muffins? I whipped up these mini ones with the help of Bob
  • Facebook
  • Twitter
  • Instagram
  • Pinterest
  • Email
Footer Logo

Copyright © my little secrets


Back To Top