My Little Secrets
  • DIY
    • Fashion
    • Home
    • Inspiration
  • Fashion
    • Outfits
    • Guides
  • Lifestyle
    • Beauty
    • Home & Decor
    • Food & Drink
    • Wedding
  • Mom Life
    • Pregnancy
    • Motherhood
  • About
    • Privacy Policy
    • Press and Features
  • DIY
    • Fashion
    • Home
    • Inspiration
  • Fashion
    • Outfits
    • Guides
  • Lifestyle
    • Beauty
    • Home & Decor
    • Food & Drink
    • Wedding
  • Mom Life
    • Pregnancy
    • Motherhood
  • About
    • Privacy Policy
    • Press and Features

My Little Secrets

A DIY and Lifestyle Blog

DIYFashion

DIY :: Delicate Two Strand Spike Necklace

written by Natalie Ho 2012.12.23

Every Christmas, my closest girlfriends and I get together for our annual Christmas gift exchange. This year, we continued our tradition of Secret Santa (stealing version!) But I thought I’d also surprise each of them with something handmade – therefore I made each of them a DIY Delicate Two Strand Spike Necklace. This DIY necklace is simple, elegant, and depending on what charm you find, it can add some spunk to your outfit.


What you will need:
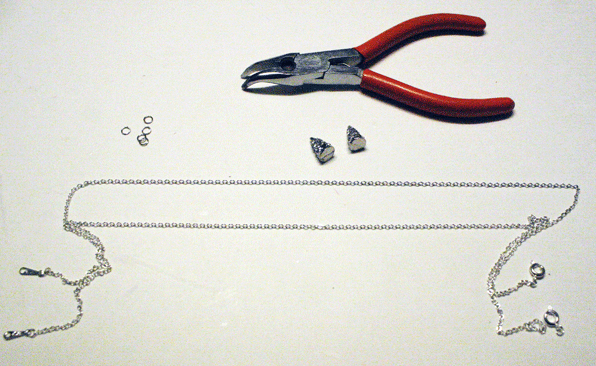
  • Two chain necklaces of equal length
  • Two crystal spike charms (you can also replace with charm of your choice)
  • Jump rings (make sure the size of your jump rings fit your chain, I made the mistake of purchasing ones that didn’t fit through the links of my chain and had to go back and buy more!)
  • Plyers
  • Tape

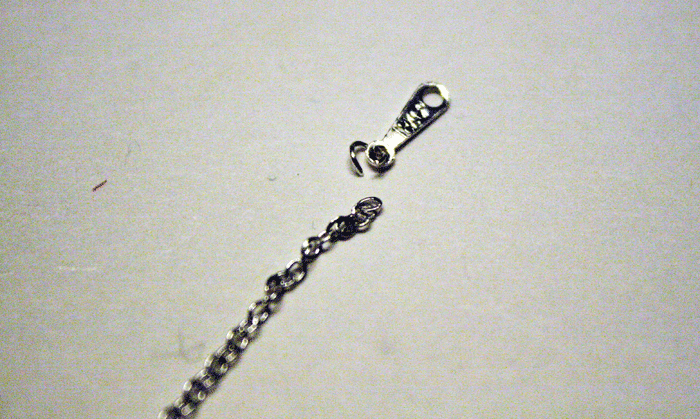
1. Start by removing both closure end from ONE chain (this will act as your lower strand) and only one of the closure from one end of a the other chain with plyers.

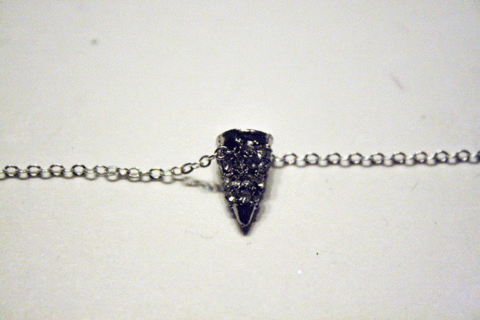
2. Feed your charm through the chain with one closure end removed and then attach the closure back onto the chain. This is now the first strand of the necklace (the shorter one).


3. Tape the necklace onto your working surface as shown in the picture below. This is to help you center the necklace and connect the second strand onto the existing necklace.


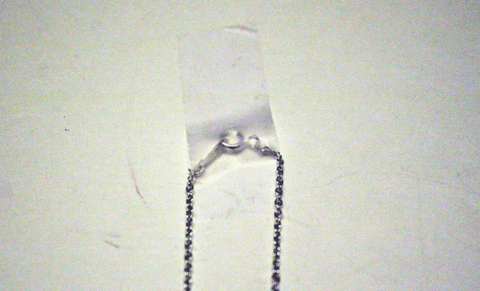
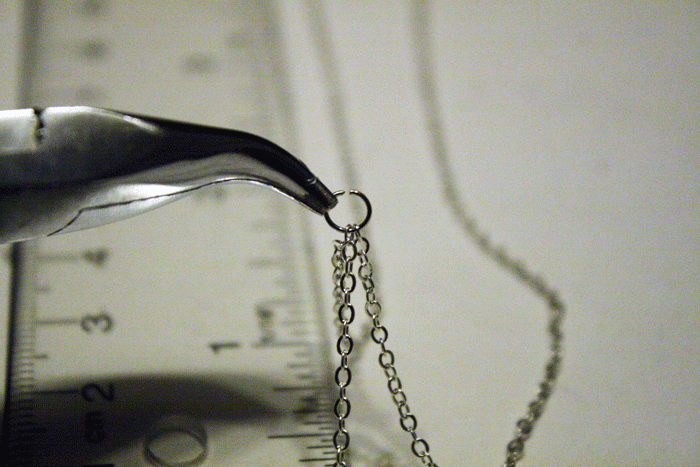
4. I measured approximately 4.5 inches down from the closure end I taped onto my working surface and attached a jump ring along with the closure-less chain.

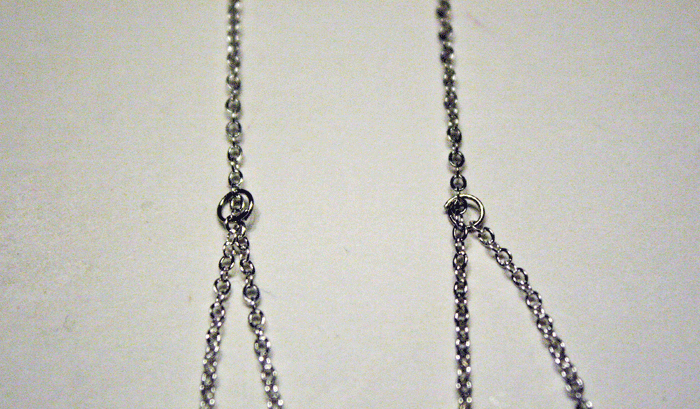
5. Repeat this same step on the adjacent side of the taped chain, ensure the two sides appear to be even.


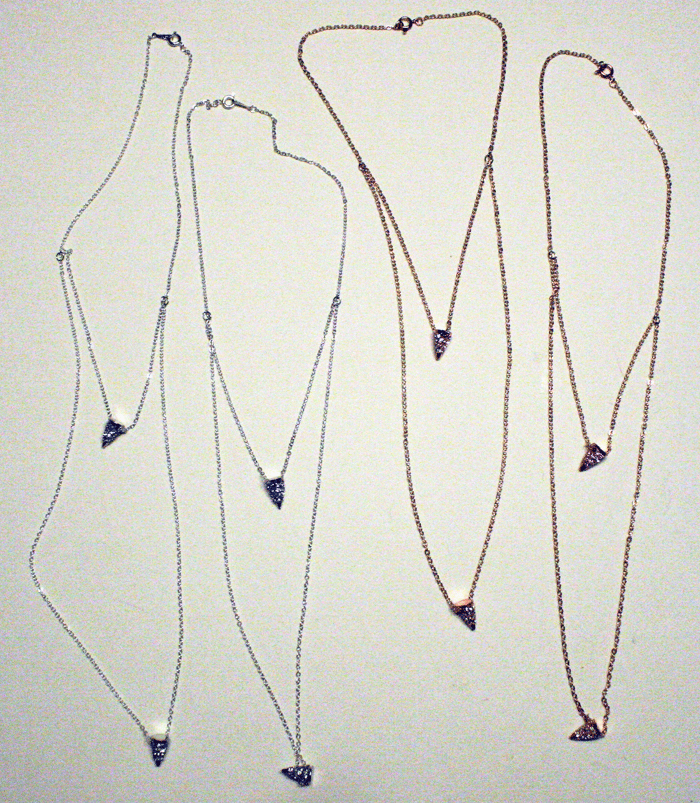
Voila! I ended up making a rose gold version as well.

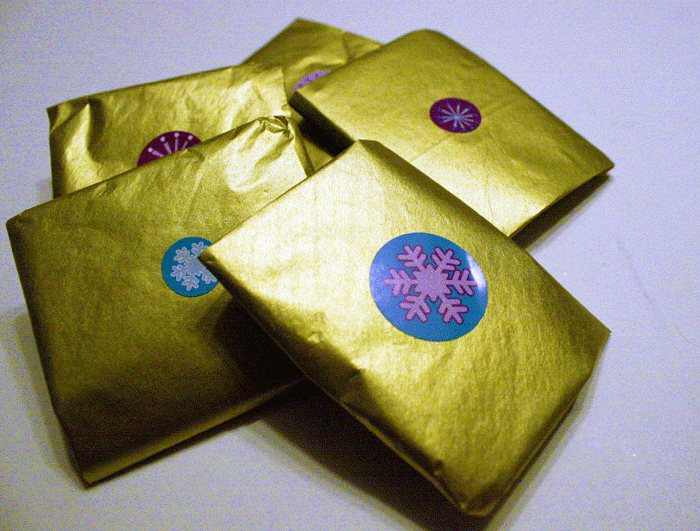
I also wrapped each necklace in tissue paper 🙂 My girlfriends were delighted to receive these.

I hope you’re enjoying all your festive gatherings so far! I had the bestest time with my friends last night, started with some trampoline jumping at Skyzone, followed by dinner, gift exchange, and ended with a great night of singing!

Thanks for stopping by!

Connect with Me!
Facebook   Twitter   Pinterest   Instagram   Bloglovin
0 comment
0
Facebook Twitter Google + Pinterest
Natalie Ho

Hi, I'm Natalie! Thanks for stopping by my DIY and Lifestyle blog. I hope you find many inspirations and ideas to elevate your daily life!

previous post
style tip :: Smitten by Sneakers
next post
Merry Merry (White) Christmas

You may also like

DIY :: Unique Gift Wrap Ideas

2015.12.16

DIY :: Sequin Anchor Sweater

2012.10.27

DIY :: Leopard Box Clutch

2013.10.09

DIY :: Heart Stamped Ombre Shirt

2013.02.04

Home Decor :: Versatile Holiday Decor Flip with...

2017.12.15

DIY :: Mini Succulent Planters

2016.03.23

DIY Workshop :: Whimsical Wreath with DeLight Floral...

2014.11.06

Holiday DIY :: Black & White Ornaments with...

2015.12.02

DIY :: Summer Cocktail Hostess Basket

2018.06.29

DIY :: Jeweled Ribbon Bracelet {Wander and Hunt}

2014.04.24

Lifestyle :: Spring & Summer Gardening Plans

2016.05.17

Beauty :: DIY Deluxe Beauty Samples Gift Box

2018.02.27

Leave a Comment Cancel Reply

This site uses Akismet to reduce spam. Learn how your comment data is processed.

Search

Connect

Facebook Twitter Instagram Pinterest Email

About Me

About Me

Hi, I'm Natalie!

Thanks for stopping by my DIY and Lifestyle blog. I hope you find many inspirations and ideas to elevate your daily life!

Subscribe

On Pinterest

@mlsecrets

Recent Posts

  • Motherhood: Easy and Educational Toddler Meal in Minutes with Chef Boyardee ABC 123

    2021.12.30
  • Home & Decor :: 4 Easy Halloween Home Decorations with your Cricut

    2021.10.28
  • Motherhood: Best Toddler Books Under $20

    2021.04.16
  • Home & Decor :: Before & After – A Living Room Transformation with Urban Barn

    2021.04.01
  • Motherhood: Must-Haves to Combat Toddler Cold and Flu Season

    2021.01.28
Close

PSST, Hey There!

Subscribe and receive all of my little secrets in your inbox.

Latest posts on Instagram

No images found!
Try some other hashtag or username
  • Facebook
  • Twitter
  • Instagram
  • Pinterest
  • Email
Footer Logo

Copyright © my little secrets


Back To Top