My Little Secrets
  • DIY
    • Fashion
    • Home
    • Inspiration
  • Fashion
    • Outfits
    • Guides
  • Lifestyle
    • Beauty
    • Home & Decor
    • Food & Drink
    • Wedding
  • Mom Life
    • Pregnancy
    • Motherhood
  • About
    • Privacy Policy
    • Press and Features
  • DIY
    • Fashion
    • Home
    • Inspiration
  • Fashion
    • Outfits
    • Guides
  • Lifestyle
    • Beauty
    • Home & Decor
    • Food & Drink
    • Wedding
  • Mom Life
    • Pregnancy
    • Motherhood
  • About
    • Privacy Policy
    • Press and Features

My Little Secrets

A DIY and Lifestyle Blog

DIYFashion

DIY :: Skull Tassel Key Ring {Inspired by Alexander McQueen}

written by Natalie Ho 2013.02.09

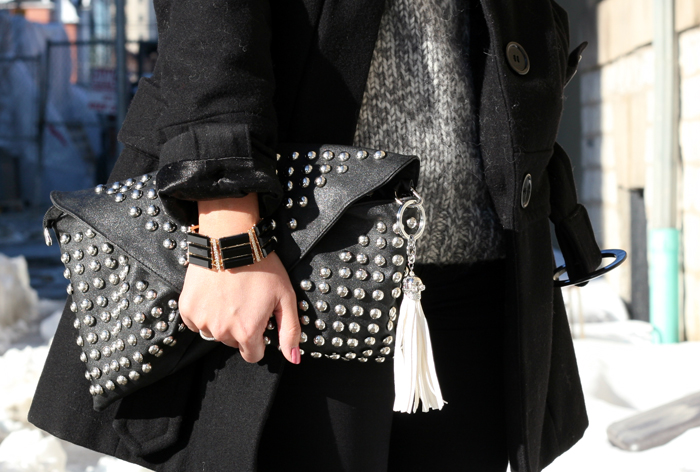
Thought I’d inspire you on a weekend DIY project that is fun and edgy. I was shopping on SSENSE and came across this Alexander McQueen Dusty Rose and Gold Tassel Key Ring. I have a tiny obsession with skulls and also had a few left over from other past projects (see skull and studded shirt). So I thought I’d take a stab at re-creating my own. I am no Alexander McQueen of course and my version is certainly not made of gold, but I really liked the way it turned out and have attached in to my studded purse since.

Keep reading for step by step instructions!


What you will need:
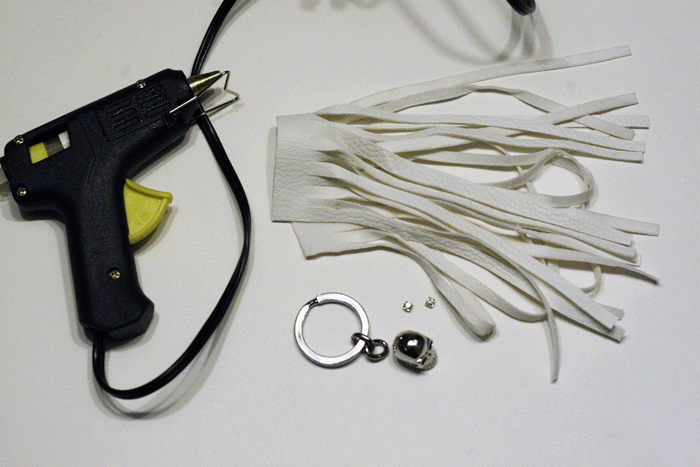
  • A hallow skull head with a hole at the top (you may be able to buy one with a loop on top
  • Leather fringe trim – mine was actually from an old purse which I cut the trim from, but you can also buy trim from local fabric store or make your own by cutting a piece from leather fabric – suede option here
  • Two rhinestones
  • Two small silver balls (larger then the size of the hole on top of the skull)
  • A glue gun
  • Key ring
  • 2 sets of plyers
  • E-6000 glue – here
  • Wire


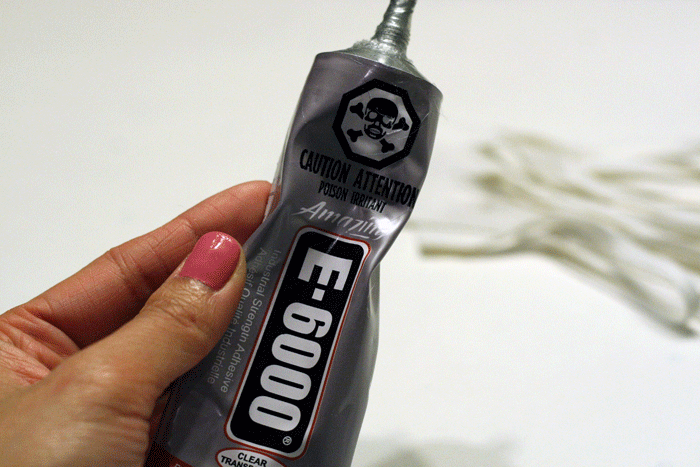
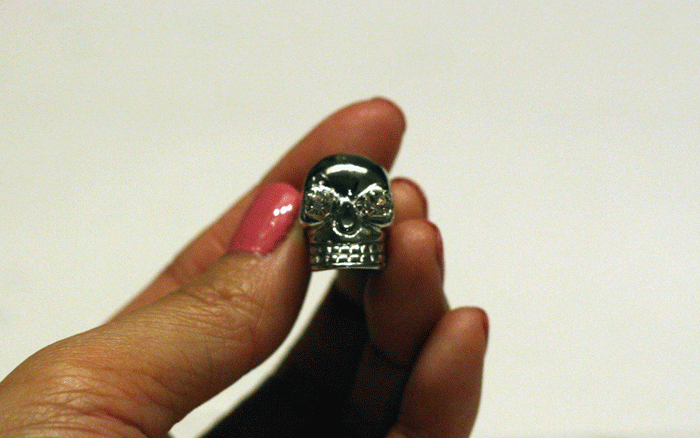
1. Start by gluing the two rhinestones with E6000 as eyes onto the skull head. If you’ve never used E6000 before, please read the instructions prior to use.

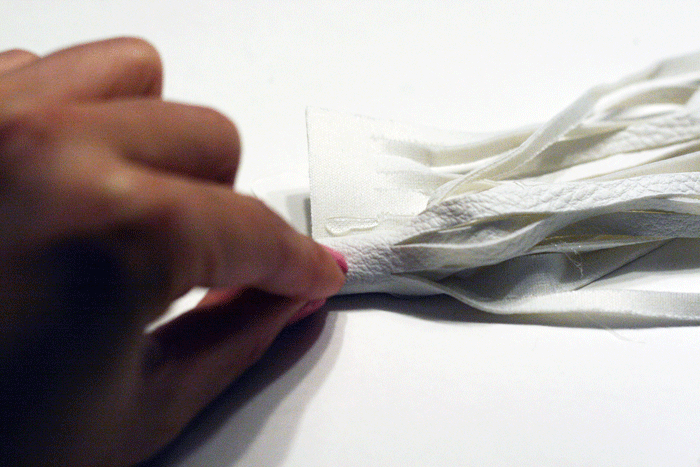
2. Heat up your glue gun, then apply a small dab onto the inner end of your leather trim and fold over (like you’re rolling sushi!)


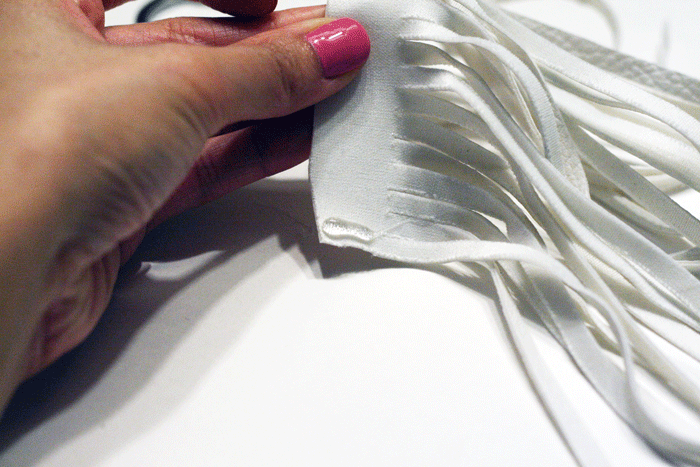
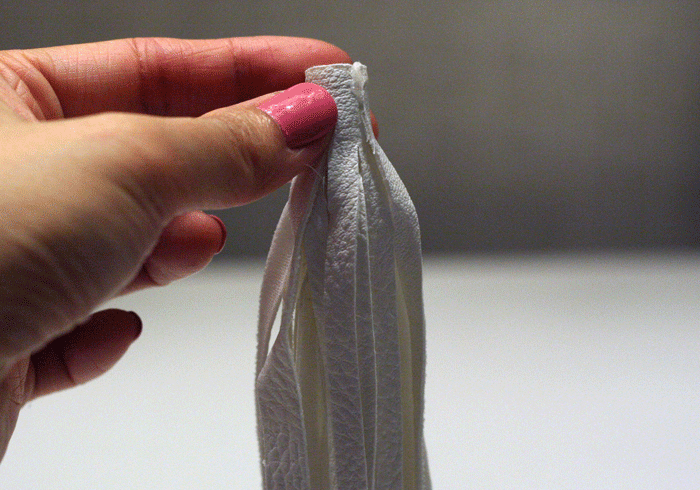
3. Continue rolling your leather trim by applying hot glue every section you roll up. Set your rolled up trim aside.


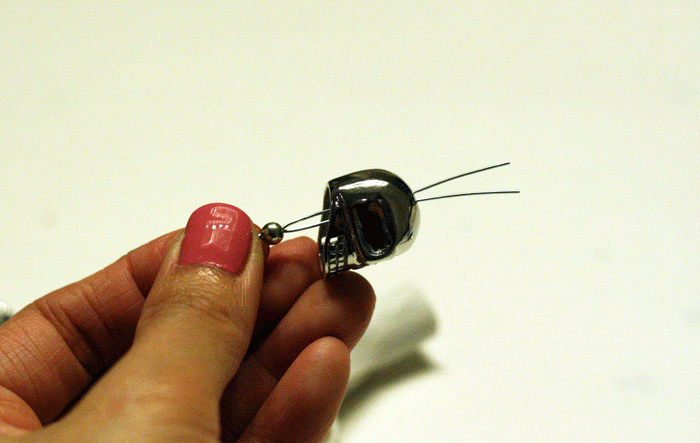
4. To create a ring hook so that you can attach the key ring to the skull, start by cutting a small strip of wire, approximately 4-5 inches. Fold in half and use two sets of plyers to create a loop as shown below and twist the ends together. Insert a small bead through (make sure the size of the bead is larger than the hole on the skull head!)

5. Insert the wire through the bottom of the skull.


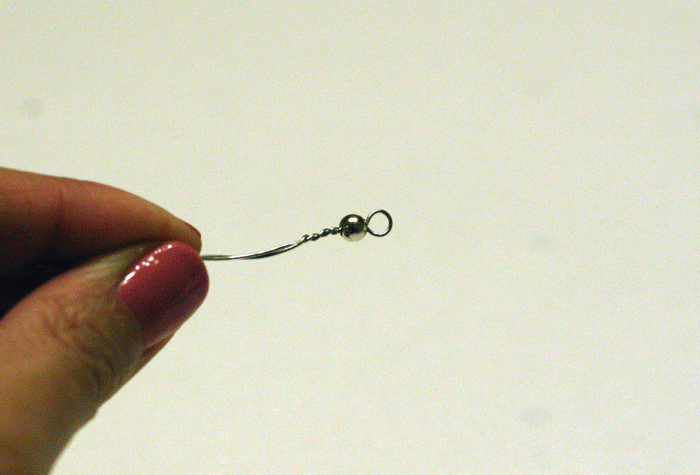
6. Insert another bead through the top end and once again make a loop shape using two sets of plyers. Cut the ends off.

7. Attach to the key ring!


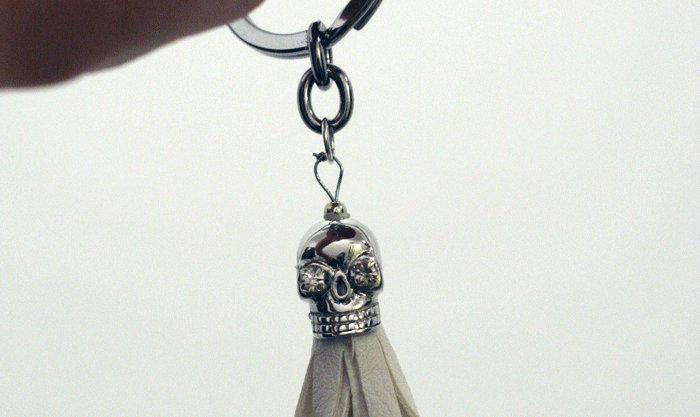
Final product!! I love the way it looks on a purse rather than using it for my keys.

Jacket – Roxy (old) / Sweater – J.Crew / Pants – JBrand / Bracelet – J.Crew (I got it at 60% off!) / Sunglasses – KayTran / Studded Purse – on my own shop but sold out in black, I have one more left in tan, please leave me a comment if you are interested. 

It’s no Alexander McQueen but a great $5.00 alternative!

I hope you like this DIY project, please share this post and your version with me!

Connect with Me!
Facebook   Twitter   Pinterest   Instagram   Bloglovin’
5 comments
0
Facebook Twitter Google + Pinterest
Natalie Ho

Hi, I'm Natalie! Thanks for stopping by my DIY and Lifestyle blog. I hope you find many inspirations and ideas to elevate your daily life!

previous post
Lust List :: Black Pumps with a Twist
next post
Valentine’s Gifts :: His and Hers

You may also like

DIY :: Cork Conversation Bubble Coasters

2014.03.24

DIY :: {Gucci Inspired} Embroidered Denim

2016.11.23

DIY :: Heart Print Jeans

2013.01.13

DIY inspiration :: Large Canvas Art

2014.01.19

DIY {Holiday Gift Guide} :: Intarsia Animal Sweater

2012.12.01

DIY {Expert Series} :: Floral Arrangement

2014.02.10

HoliDIY :: Christmas Tree Burlap Bunting Garland (with...

2013.12.02

DIY Inspiration :: Alexander Wang Inspired Gladiator Heels

2013.06.10

DIY :: Safety Pin Pearl Fan Necklace

2013.05.23

Beauty :: DIY Deluxe Beauty Samples Gift Box

2018.02.27

Valentine’s DIY :: Happy Hearts

2016.02.06

DIY :: Leopard Box Clutch

2013.10.09

5 comments

tanya 2014.01.21 - 9:57 am

Love this, you’ve done a great job!

Reply
Kay 2014.01.21 - 9:57 am

Love it! It looks expensive.

Reply
Katelyn 2014.01.21 - 9:58 am

Love this! Just curious – did you use the hot glue or the e-6000 to attach the skull to the fringe? Thanks!

Reply
Natalie (My Little Secrets) 2014.01.21 - 9:58 am

Katelyn – I used e-6000 for gluing the rhinestones to the skull head and used hot glue gun to attach the skull to the fringe! i typically used hot glue gun to attach fabric or leather to other materials. Have fun!

Natalie

Reply
Sarah 2015.09.16 - 9:18 am

Just wondering where you got the hollow skull from?!

Thanks!!

Reply

Leave a Comment Cancel Reply

This site uses Akismet to reduce spam. Learn how your comment data is processed.

Search

Connect

Facebook Twitter Instagram Pinterest Email

About Me

About Me

Hi, I'm Natalie!

Thanks for stopping by my DIY and Lifestyle blog. I hope you find many inspirations and ideas to elevate your daily life!

Subscribe

On Pinterest

@mlsecrets

Recent Posts

  • Home & Decor :: Before & After – A Living Room Transformation with Urban Barn

    2021.04.01
  • Motherhood: Must-Haves to Combat Toddler Cold and Flu Season

    2021.01.28
  • Home & Decor :: Tips on Preparing a Move During a Pandemic and The Holidays

    2020.11.30
  • Motherhood :: Recommended Toys if your Baby/Toddler Loves Cars

    2020.11.19
  • Motherhood :: The Best Stroller for City Living and Day Trips On-the-Go

    2020.10.23
Close

PSST, Hey There!

Subscribe and receive all of my little secrets in your inbox.

Latest posts on Instagram

mylittlesecrets_ca

 3005    24756


  • P L A N T S : Place your bets! How many will live and for how many day?! I am the worst plant mama, pretty much have killed every single plant I owned. But I am NOT giving up. If I
  • C H A I R : Spent most of my extra day off today here and not even mad about it! This was meant to be Kyle
  • E A S T E R : Happy Easter my friends! A mini backyard egg hunt is planned for this afternoon. Hope you all enjoy the sunshine outside today! (Also, E clearly loves the camera ) . . . . : @lauraclarkephotos #easter #easterbunny #eastereggs #easterdecor #happyeaster #easter2021 #easterbasket #easteregg #eastergifts #eastersunday #easterdecoration #easterweekend #eastertreats #easteregghunt #bunny #eastercookies #minieggs #easterdecorations #eastercake #easterchocolate #egghunt #eastergift #spring #easterbaking #toddlerlife #familyphoto #theeverydaymom
  • C E L E B R A T E : Are you team Brunch or team Dinner for Easter? As for me, I prefer, DESSERT + WINE! I always bake carrot cake for Easter but decided to do up regular and mini sized cupcakes this year instead. The minis are perfect for Toddlers! And I saved these @pellerwine for a special occasion. Wishing you guys a delicious meal even if you
  • B A S K E T : Says the mom who wasn
  • L I V I N G : I
  • W I P E S : {A D} How are you keeping your surfaces rid of bacteria and viruses at home or on-the-go these days? I
  • R A I N : Rainy day vibes. Magazines and organizing today. And friends, set your timers, full living room reveal and all the product links coming April 1! #mylittleurbancottage #rightathome#house #hometour : @lauraclarkephotos #homedecor #sofa #rugstyle #loungewear #hmxme #homesweethome #homestyle #homegoals #homedetails #homeinterior #homeideas #livingroomdecor #thisishome #interiorlovers #cornerofmyhome #washablerugs
  • Facebook
  • Twitter
  • Instagram
  • Pinterest
  • Email
Footer Logo

Copyright © my little secrets


Back To Top